
Welcome to our tutorial on hosting your Journey Sync Drive using Docker Compose on DigitalOcean. This guide is designed to be easy to follow, with an estimated setup time of just 45 minutes.
Before we dive in, make sure you have the following:
- DigitalOcean account
- Domain
Create a Droplet
-
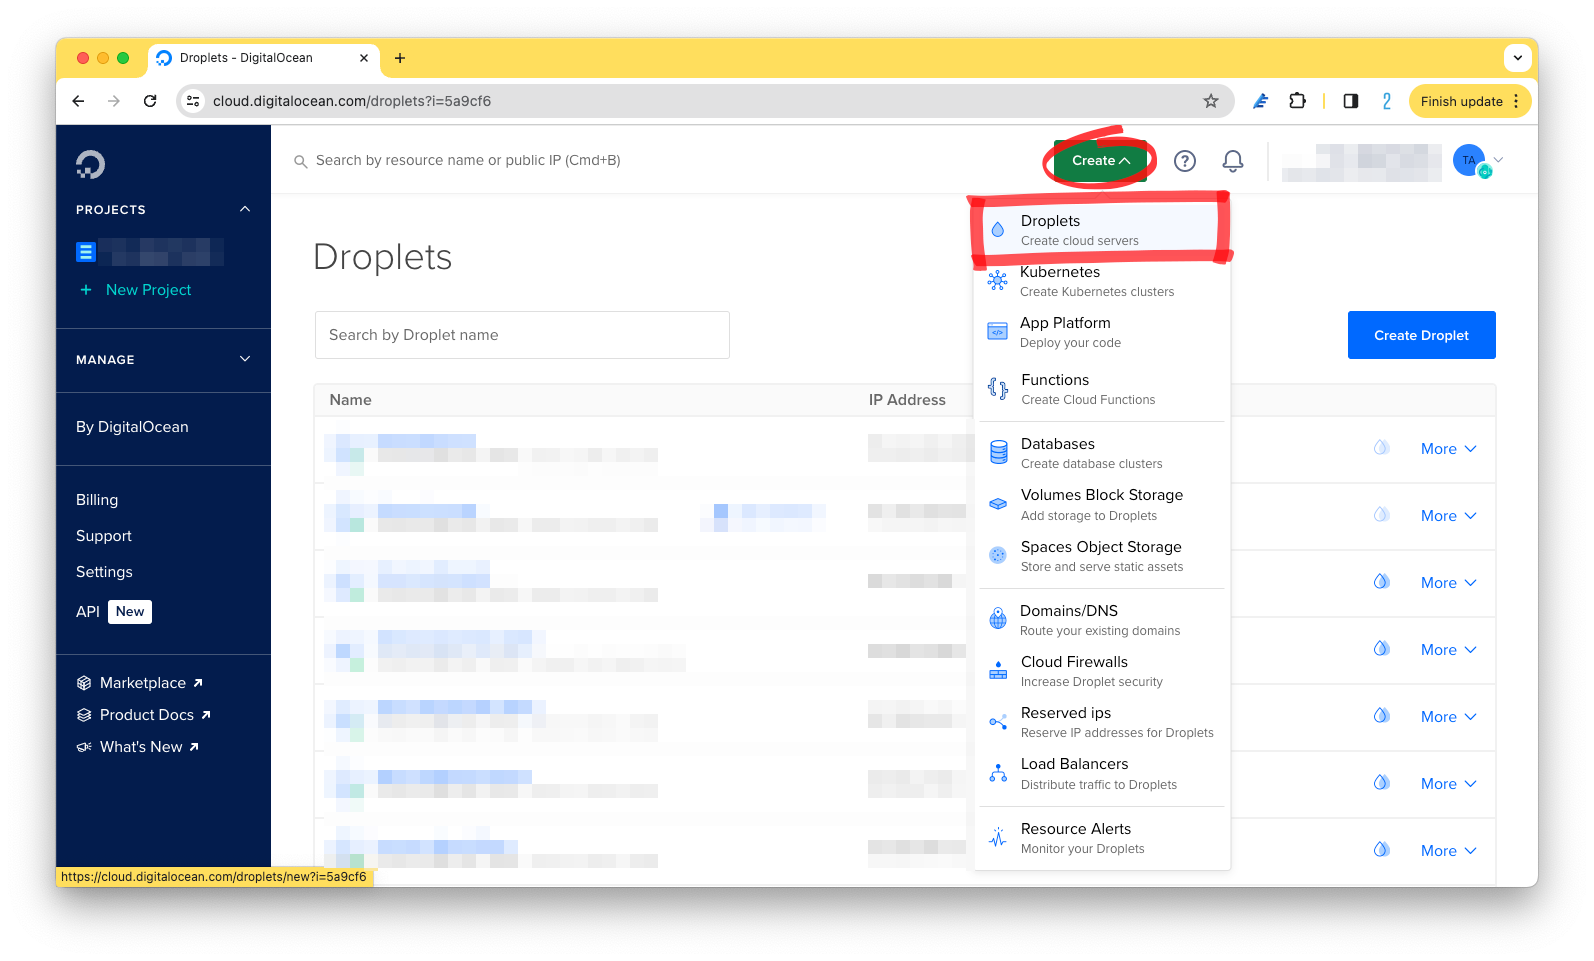
Log in to your DigitalOcean dashboard and navigate to “Create” > “Droplets”.
- Choose your preferred region to host your data.
Tip: Select a region that’s closer to you for optimal performance.
-
Under “Select Image”, choose “Ubuntu 24.04 (LTS) x64” as your operating system.
-
Select your preferred Droplet type. For this tutorial, we’ll choose “Basic” > “Regular (Disk type: SSD)” with specs “4 GB / 2 CPUs, 80 GB SSD Disk, 4 TB transfer”.
-
We strongly recommend that you turn on the “Enable automated backup plan.”
- For authentication, choose “SSH key” instead of “Password”. Follow the instructions to set up a new SSH key.
Note: Weak passwords can compromise security, so it’s best to use SSH keys for authentication.
-
Give your Droplet a hostname, such as “john-appleseed-journal”.
-
Click on “Create Droplet” to proceed.
- Once your Droplet is created, you’ll see it listed in your dashboard. It should look like this:

Install Docker
-
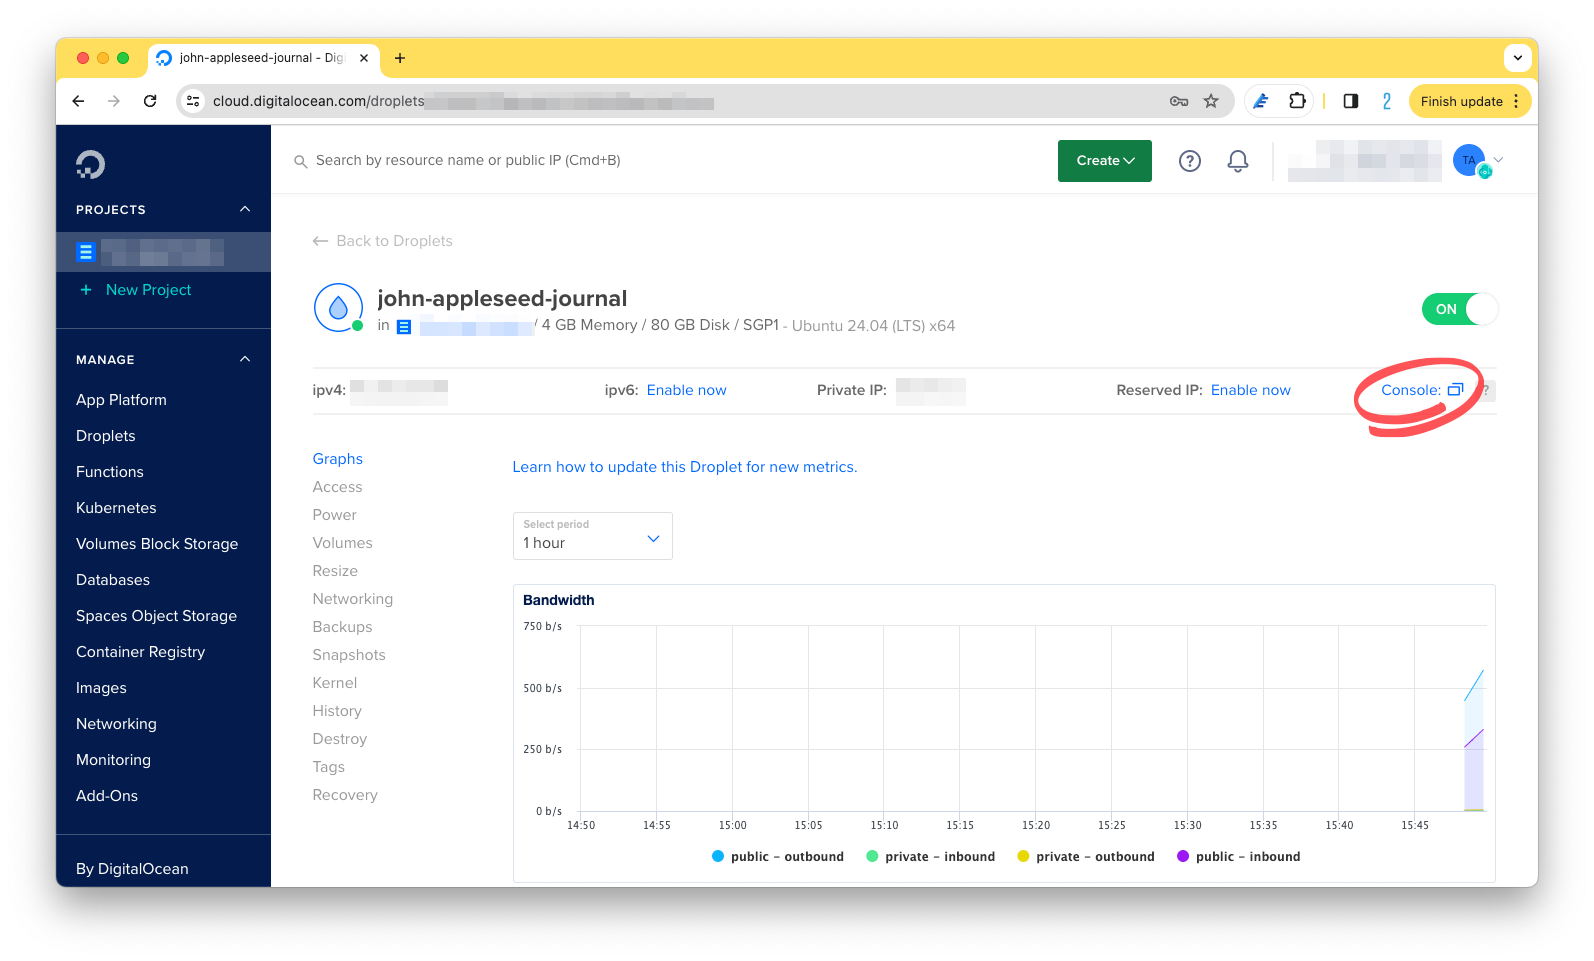
Click on the “Launch Console” button located at the top right corner of the dashboard.
-
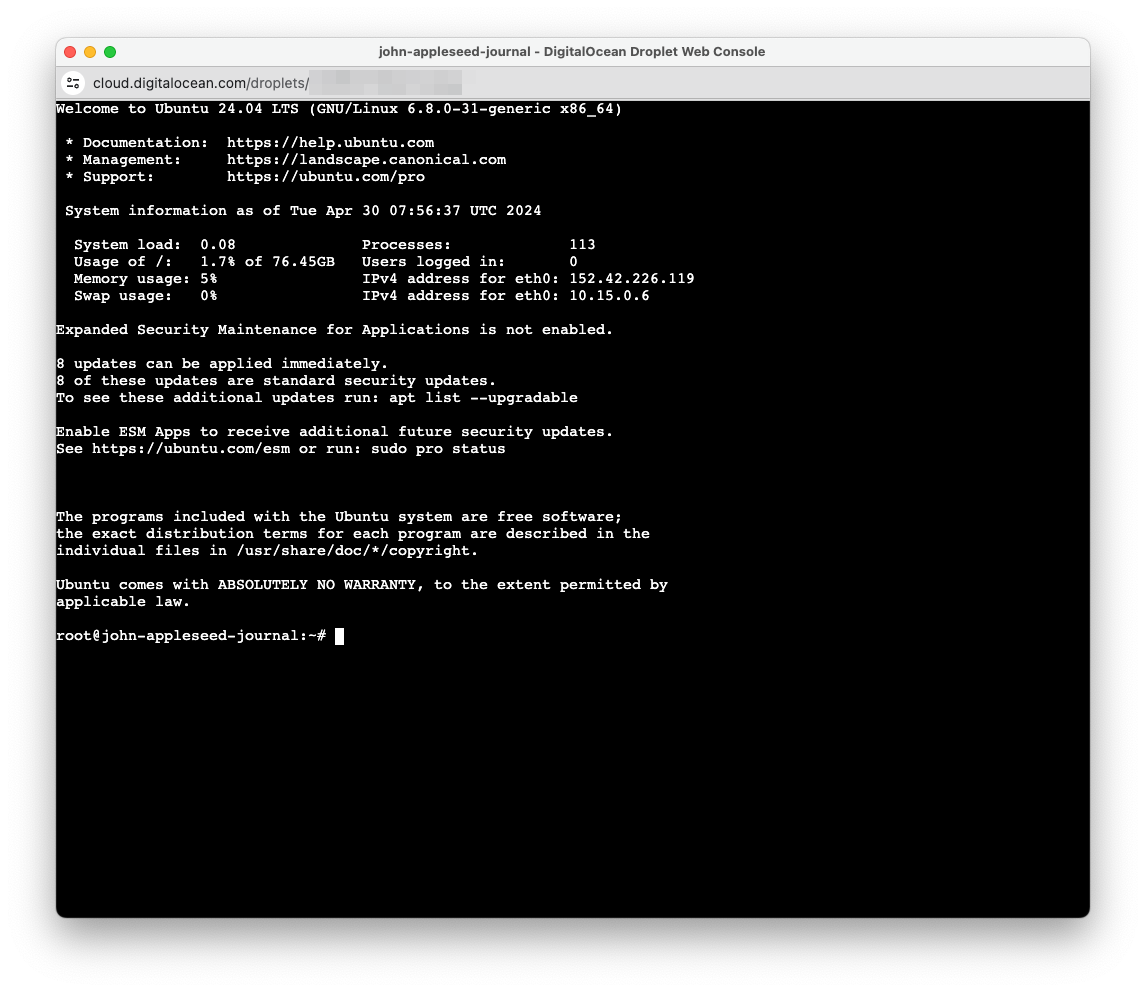
Once clicked, a console window will open. If you are prompted to install the console agent, please wait for a moment and then refresh the page. After refreshing, try launching the console again.
- First, update your existing list of packages.
sudo apt update - Next, install a few prerequisite packages which let apt use packages over HTTPS. When prompted, type
Yand pressENTERto continue with the installation.sudo apt install apt-transport-https ca-certificates curl software-properties-common - Then add the GPG key for the official Docker repository to your system.
curl -fsSL https://download.docker.com/linux/ubuntu/gpg | sudo apt-key add - - Add the Docker repository to APT sources. Press
ENTERto continue.sudo add-apt-repository "deb [arch=amd64] https://download.docker.com/linux/ubuntu focal stable" - This will also update your package database with the Docker packages from the newly added repo. Make sure you are about to install from the Docker repo instead of the default Ubuntu repo.
apt-cache policy docker-ce - You’ll see output similar to this, although the version number for Docker might vary. Notice that docker-ce is not installed, yet the candidate for installation originates from the Docker repository for Ubuntu 20.04 (focal).
docker-ce: Installed: (none) Candidate: 5:26.1.0-1~ubuntu.20.04~focal Version table: 5:26.1.0-1~ubuntu.20.04~focal 500 500 https://download.docker.com/linux/ubuntu focal/stable amd64 Packages - Finally, install Docker. When prompted, type
Yand pressENTERto continue with the installation.sudo apt install docker-ce - Docker should now be installed, the daemon started, and the process enabled to start on boot. Check that it’s running.
sudo systemctl status docker - The output should be similar to the following, showing that the service is active and running.
● docker.service - Docker Application Container Engine Loaded: loaded (/usr/lib/systemd/system/docker.service; enabled; preset: enabled) Active: active (running) since Tue 2024-04-30 08:07:26 UTC; 2min 11s ago TriggeredBy: ● docker.socket Docs: https://docs.docker.com Main PID: 3690 (dockerd) Tasks: 9 Memory: 27.8M (peak: 30.0M) CPU: 386ms CGroup: /system.slice/docker.service └─3690 /usr/bin/dockerd -H fd:// --containerd=/run/containerd/containerd.sock - Navigate to your user directory and create a folder named
compose. Change directory to this folder.cd ~/ mkdir compose cd compose - Visit the GitHub repository here and locate the
docker-compose.ymlfile. Copy its contents and paste them into a text editor like Notepad or VS Code. Within the copied content, locate and modify the following fields:- DOMAIN: Replace both
journey-sync-self-hosted-service&journey-sync-self-hosted-mediaservices of this field with your desired domain name. Example:johnappleseed.com - SIGNED: Change this field to a unique value.
- ADMIN_JS_COOKIE_PASSWORD: Modify this field with a unique password.
- DOMAIN: Replace both
- In the console, create docker-compose.yml with a text editor.
nano docker-compose.yml -
Paste the content from your PC Notepad. Then enter Control+X
^X. EnterYand pressENTERto save. - Pull the images.
docker compose pull - Run the services.
docker compose up -d - The output should show this:
[+] Running 10/10 ✔ Network root_default Created 0.1s ✔ Volume "root_journey-redis-volume" Created 0.0s ✔ Volume "root_journey-typesense-volume" Created 0.0s ✔ Volume "root_journey-fs-volume" Created 0.0s ✔ Volume "root_journey-mongodb-volume" Created 0.0s ✔ Container root-journey-redis-service-1 Started 0.9s ✔ Container root-journey-typesense-service-1 Start... 0.9s ✔ Container root-journey-mongodb-service-1 Started 1.0s ✔ Container root-journey-sync-self-hosted-service-1 Started 0.0s ✔ Container root-journey-sync-self-hosted-media-1 Started - Once the services are loaded, check if all are loaded correctly.
docker compose ps -a - The output should show that all of the 5 services are alive.
NAME                                      IMAGE                                   COMMAND                  SERVICE                            CREATED          STATUS          PORTS
root-journey-mongodb-service-1            mongo:7.0                               "docker-entrypoint.s…"   journey-mongodb-service            46 seconds ago   Up 44 seconds   27017/tcp
root-journey-redis-service-1              redis:7.2.4-alpine                      "docker-entrypoint.s…"   journey-redis-service              46 seconds ago   Up 44 seconds   6379/tcp
root-journey-sync-self-hosted-media-1     journeycloud/journey-sync-self-hosted   "npm run launchMedia"    journey-sync-self-hosted-media     45 seconds ago   Up 43 seconds   8080/tcp
root-journey-sync-self-hosted-service-1   journeycloud/journey-sync-self-hosted   "npm run launch"         journey-sync-self-hosted-service   45 seconds ago   Up 43 seconds   0.0.0.0:8080->8080/tcp, :::8080->8080/tcp
root-journey-typesense-service-1          typesense/typesense:26.0                "/opt/typesense-serv…"   journey-typesense-service          46 seconds ago   Up 44 seconds   8108/tcp
Install Nginx & Certbot
- Install Nginx. When prompted, type
Yand pressENTERto continue with the installation.sudo apt install nginx - At the end of the installation process, Ubuntu starts Nginx. The web server should already be up and running. You can verify that the service is running by typing:
systemctl status nginx - The output should show that nginx is active.
● nginx.service - A high performance web server and a reverse proxy server Loaded: loaded (/usr/lib/systemd/system/nginx.service; enabled; preset: enabled) Active: active (running) since Wed 2024-05-01 06:14:06 UTC; 50s ago Docs: man:nginx(8) Process: 10622 ExecStartPre=/usr/sbin/nginx -t -q -g daemon on; master_process on; (code=exited, status=0/SU> Process: 10623 ExecStart=/usr/sbin/nginx -g daemon on; master_process on; (code=exited, status=0/SUCCESS) Main PID: 10625 (nginx) Tasks: 3 (limit: 4658) Memory: 2.4M (peak: 2.6M) CPU: 17ms CGroup: /system.slice/nginx.service ├─10625 "nginx: master process /usr/sbin/nginx -g daemon on; master_process on;" ├─10626 "nginx: worker process" └─10627 "nginx: worker process" -
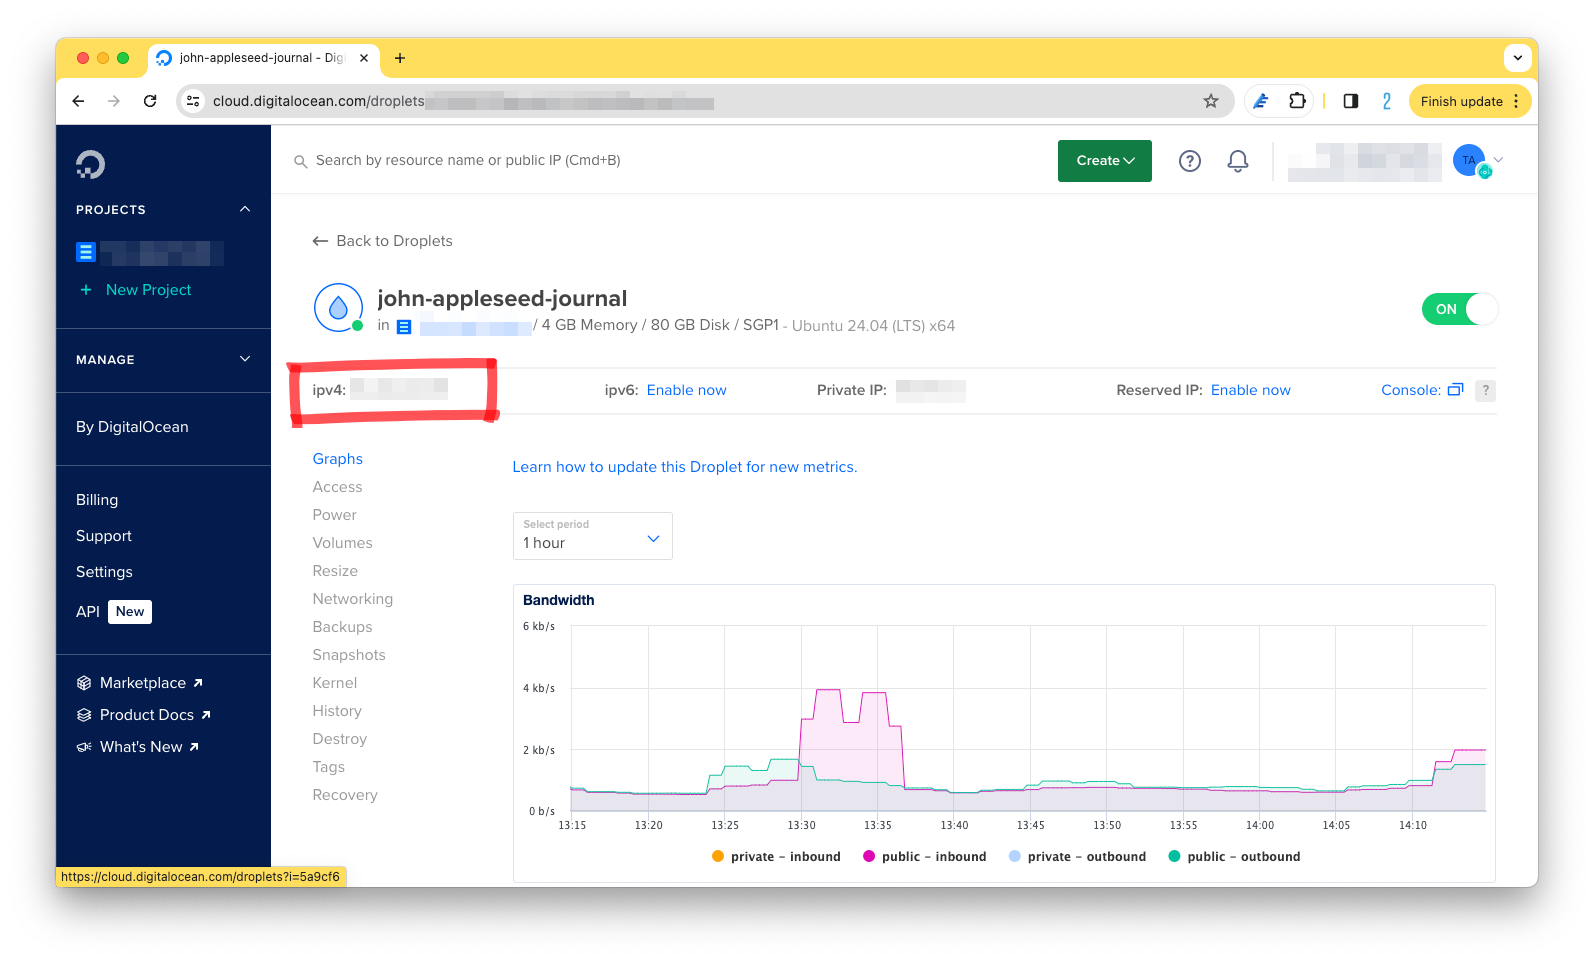
In the Droplet dashboard, you can retrieve the public IP address or domain.
-
Paste the IP address or your domain into the browser, and you should see that the Nginx web server is successfully installed and working.
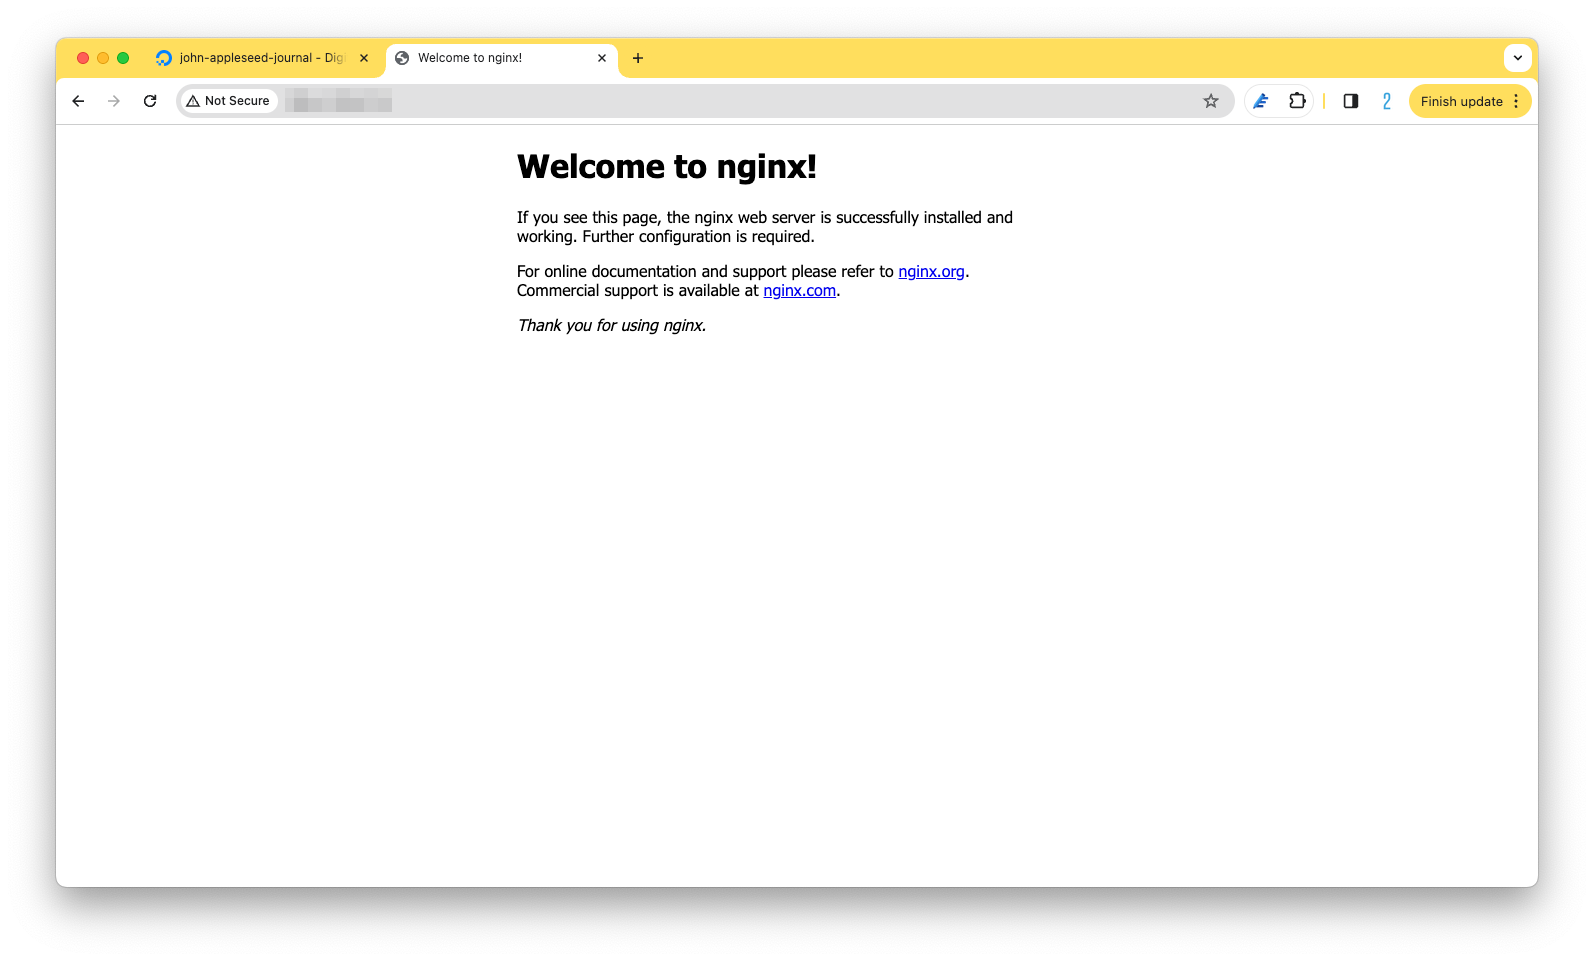
-
Skip this step if you have already setup a domain that is directed to this Droplet. To direct the domain to the Droplet, refer to this link. Once done, go back to step 4 & 5.
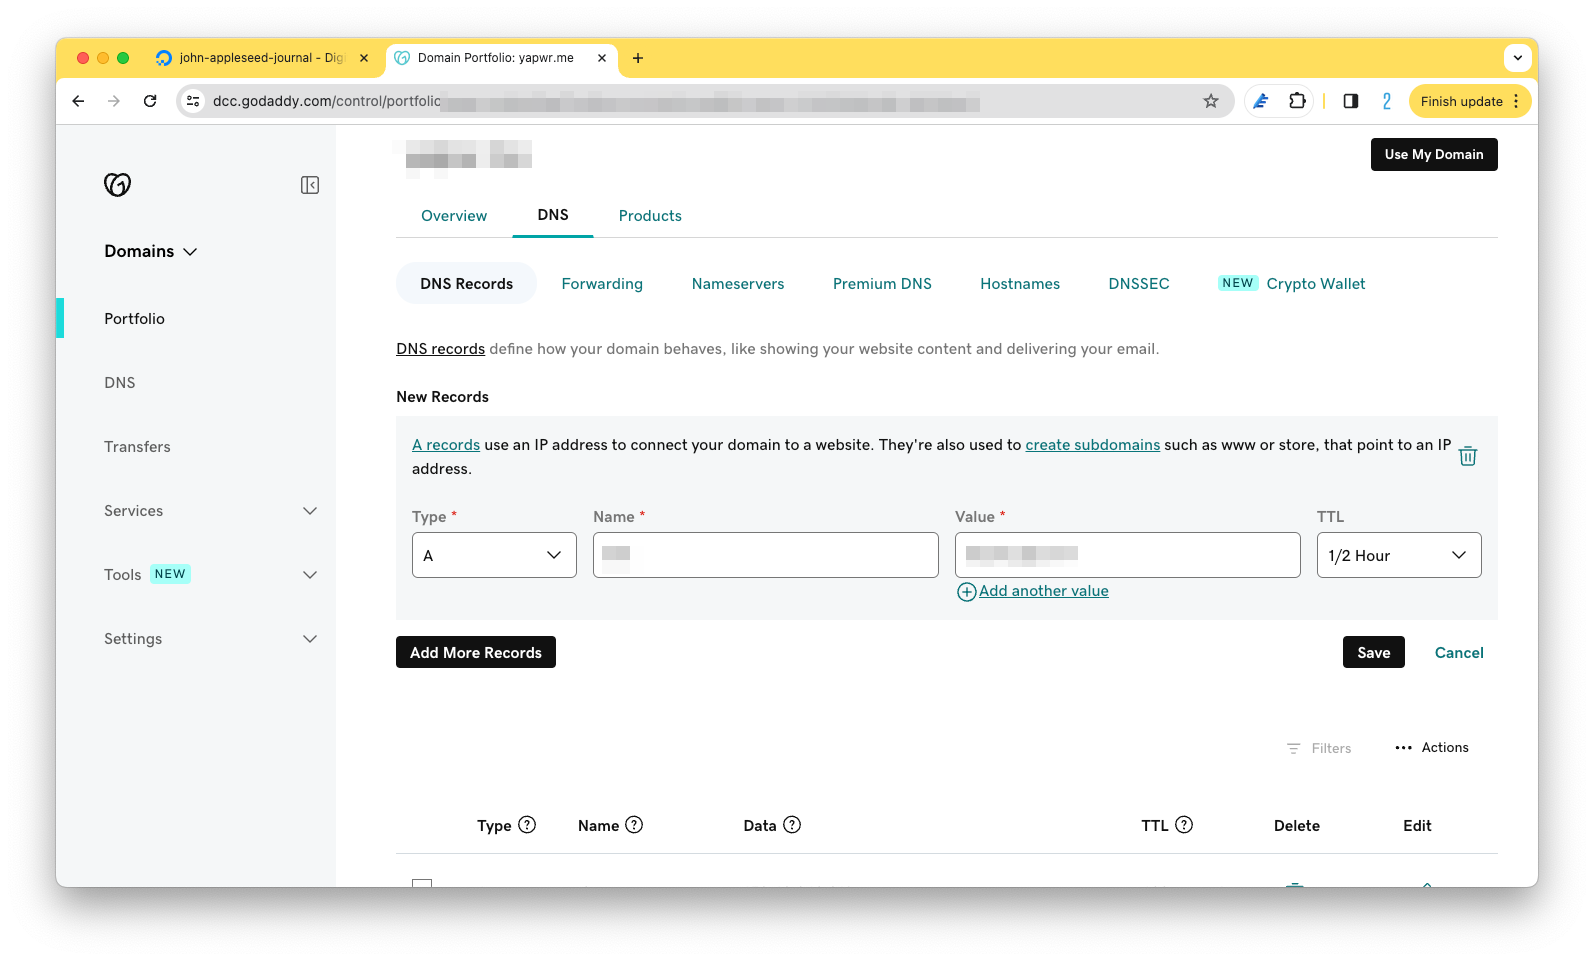 In the above example, we setup our domain by adding
 Arecord to the IP address of the Droplet. For the name, you can enter either@if you would like the root of the domain ornamefor subdomain.Name Your Domain will look like this @ johnappleseed.com journal journal.johnappleseed.com - Open a text editor to configure nginx further. Replace
<domain>with your domain.sudo nano /etc/nginx/sites-available/<domain>Example:
sudo nano /etc/nginx/sites-available/johnappleseed.com - Paste the text shown below into the file. Replace
<domain>with your domain. Then enter Control+X^X. EnterYand pressENTERto save.server { listen 80; listen [::]:80; server_name <domain>; location / { proxy_pass http://localhost:8080; } } - Replace
<domain>with your domain.sudo ln -s /etc/nginx/sites-available/<domain> /etc/nginx/sites-enabled/ - Configure nginx configuration.
nano /etc/nginx/nginx.conf - Insert these lines of code
client_max_body_size 100M;andproxy_set_header X-Forwarded-For $remote_addr;intohttpsection. Then enter Control+X^X. EnterYand pressENTERto save.http { ## # Basic Settings ## client_max_body_size 100M; proxy_set_header X-Forwarded-For $remote_addr; - Check if the nginx configuration is properly set.
nginx -t - You should see this output.
nginx: the configuration file /etc/nginx/nginx.conf syntax is ok nginx: configuration file /etc/nginx/nginx.conf test is successful - Journey clients require encrypted HTTPS on web servers. We will use Certbot to obtain a free SSL certificate for Nginx on Ubuntu and set up your certificate to renew automatically. To begin, install cerbot and its dependencies. When prompted, type
Yand pressENTERto continue with the installation.apt install certbot python3-certbot-nginx - Execute certbot. Replace
<domain>with your domain.sudo certbot --nginx -d <domain> -
Enter your email address.
-
Type
Yand pressENTERto continue with the installation. - You should see this output.
Deploying certificate Successfully deployed certificate for <domain> to /etc/nginx/sites-enabled/<domain> Congratulations! You have successfully enabled HTTPS on https://<domain> - “Let’s Encrypt” certificates are only valid for ninety days. This is designed to encourage users to automate their certificate renewal process. The certbot package handles this by adding a systemd timer that runs twice a day and automatically renews any certificate that’s within thirty days of expiration. You can query the status of the timer with
systemctl:sudo systemctl status certbot.timer - The output should show this:
● certbot.timer - Run certbot twice daily Loaded: loaded (/usr/lib/systemd/system/certbot.timer; enabled; preset: enabled) Active: active (waiting) since Wed 2024-05-01 06:46:56 UTC; 43min ago Trigger: Wed 2024-05-01 19:15:56 UTC; 11h left Triggers: ● certbot.service - To test the renewal process, you can do a dry run with certbot.
sudo certbot renew --dry-run - If you see no errors, you’re all set. When necessary, Certbot will renew your certificates and reload Nginx to pick up the changes. If the automated renewal process ever fails, “Let’s Encrypt” will send a message to the email you specified, warning you when your certificate is about to expire.
- - - - - - - - - - - - - - - - - - - - - - - - - - - - - - - - - - - - - - - - Congratulations, all simulated renewals succeeded: /etc/letsencrypt/live/<domain>/fullchain.pem (success) - - - - - - - - - - - - - - - - - - - - - - - - - - - - - - - - - - - - - - - - - Reload nginx.
sudo systemctl restart nginx -
Enter your domain into the browser. You should see that the Journey self-hosted server is installed.
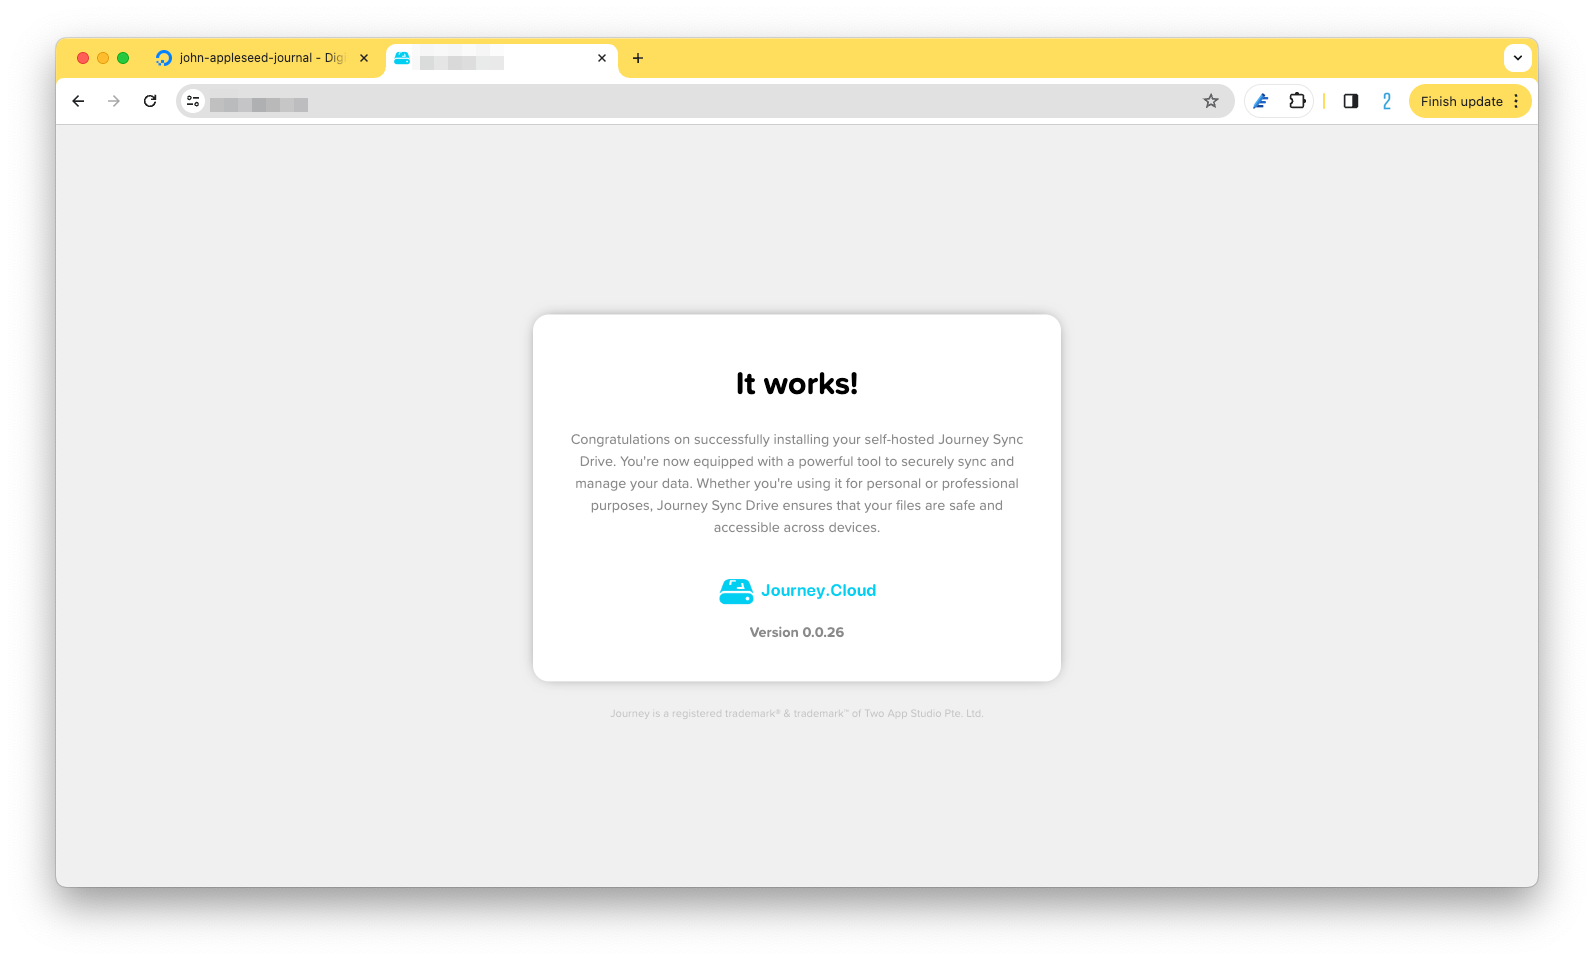
-
Log in to the admin panel by going to
https://<domain>/admin.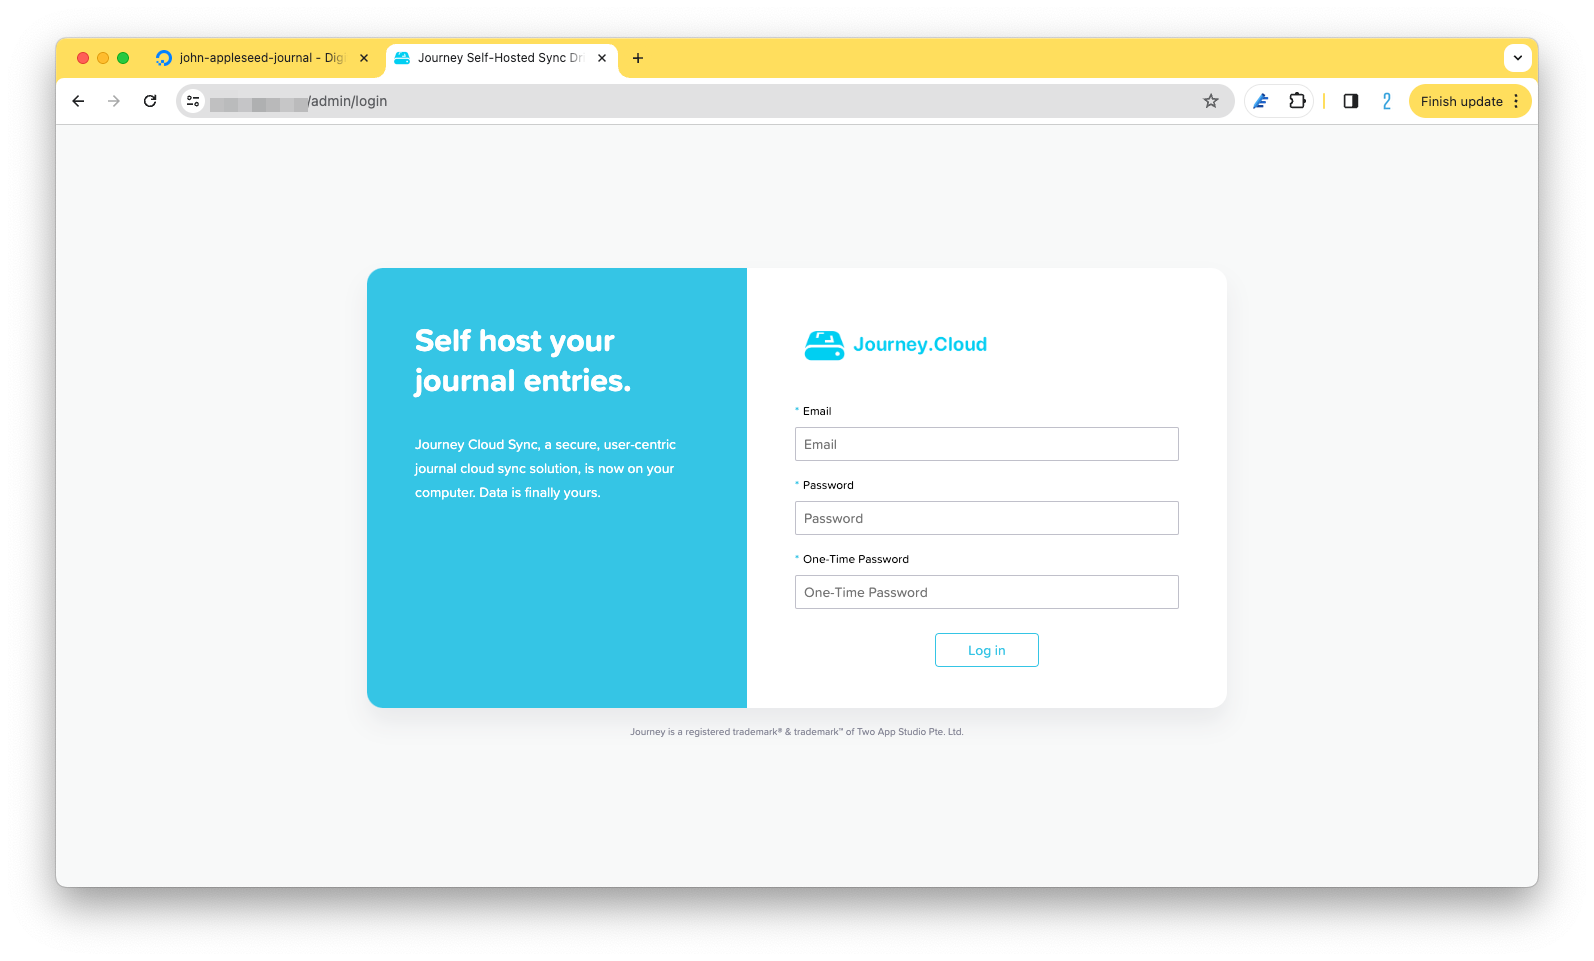
- To locate your credentials, open the terminal and find the process of the Journey web server.
docker ps -a -
Find the container ID of the web server on the same line with
npm run launch. In this example, the container ID is5f9ae2280304.
- Read the logs of the web server using the container ID found in step 22.
docker logs <container ID> -
Copy the user name and password into the admin login page. For OTP, use authenticator app such as Authy. Enter the secret code or scan the QR code.
-
Done! You are in the admin dashboard.
-
Change the admin password. You may also add new user.
- Follow the instructions here to add a new sync drive.
Update Journey Docker images
- Journey self-hosted is updated from time to time. To update, go to the folder where
docker-compose.ymlis located.cd ~/compose - Pull the images.
docker compose pull - Load the new images.
docker compose up -d
Recommended Resources
- https://www.digitalocean.com/community/tutorials/how-to-install-nginx-on-ubuntu-20-04
- https://www.digitalocean.com/community/tutorials/how-to-secure-nginx-with-let-s-encrypt-on-ubuntu-20-04
- https://www.digitalocean.com/community/tutorials/how-to-install-and-use-docker-on-ubuntu-20-04
- https://www.digitalocean.com/community/tutorials/how-to-install-and-use-docker-compose-on-ubuntu-20-04