
Welcome to our tutorial on hosting your Journey Sync Drive using Docker Compose on MacOS Sonoma 14. This guide is designed to be easy to follow, with an estimated setup time of just 30 minutes.
Before we dive in, make sure you have the following:
- Macintosh E.g. Mac Studio
- Ngrok account
Install Docker Desktop
-
Go to Docker to download the MacOS App. Choose between Intel chip and Apple chip depending on your Mac.
-
Open the downloaded dmg file and drag it into the “Applications” folder.
-
Open “Docker” app.
-
Accept the terms. Select “Use recommended settings” > “Finish”.
-
Click on “Continue without signing in”.
-
Click on the red traffic light button to close the window. You should still see that the Docker app is running in the background.
Sign up for Dynamic DNS service
-
In this example, we use Ngrok. Sign up a free account in ngrok.
-
Head over to ngrok MacOS setup page.
Install Homebrew
-
Open “Terminal” app from “LaunchPad”.

- Install Homebrew. Input your password when prompted and press
ENTER. PressENTERagain to install command line tools./bin/bash -c "$(curl -fsSL https://raw.githubusercontent.com/Homebrew/install/HEAD/install.sh)" - Update the repository index of the Homebrew package installer.
brew update - Install ngrok.
brew install ngrok/ngrok/ngrok - From “ngrok” MacOS setup page, copy the authtoken shown. Enter the command below in your terminal:
ngrok config add-authtoken <token> - Under “Deploy your app online”, click “Static Domain”. Take note that
<random>.ngrok-free.appis your domain.ngrok http --domain=<random>.ngrok-free.app 8080
Deploy Docker Images
- Visit the GitHub repository here and locate the
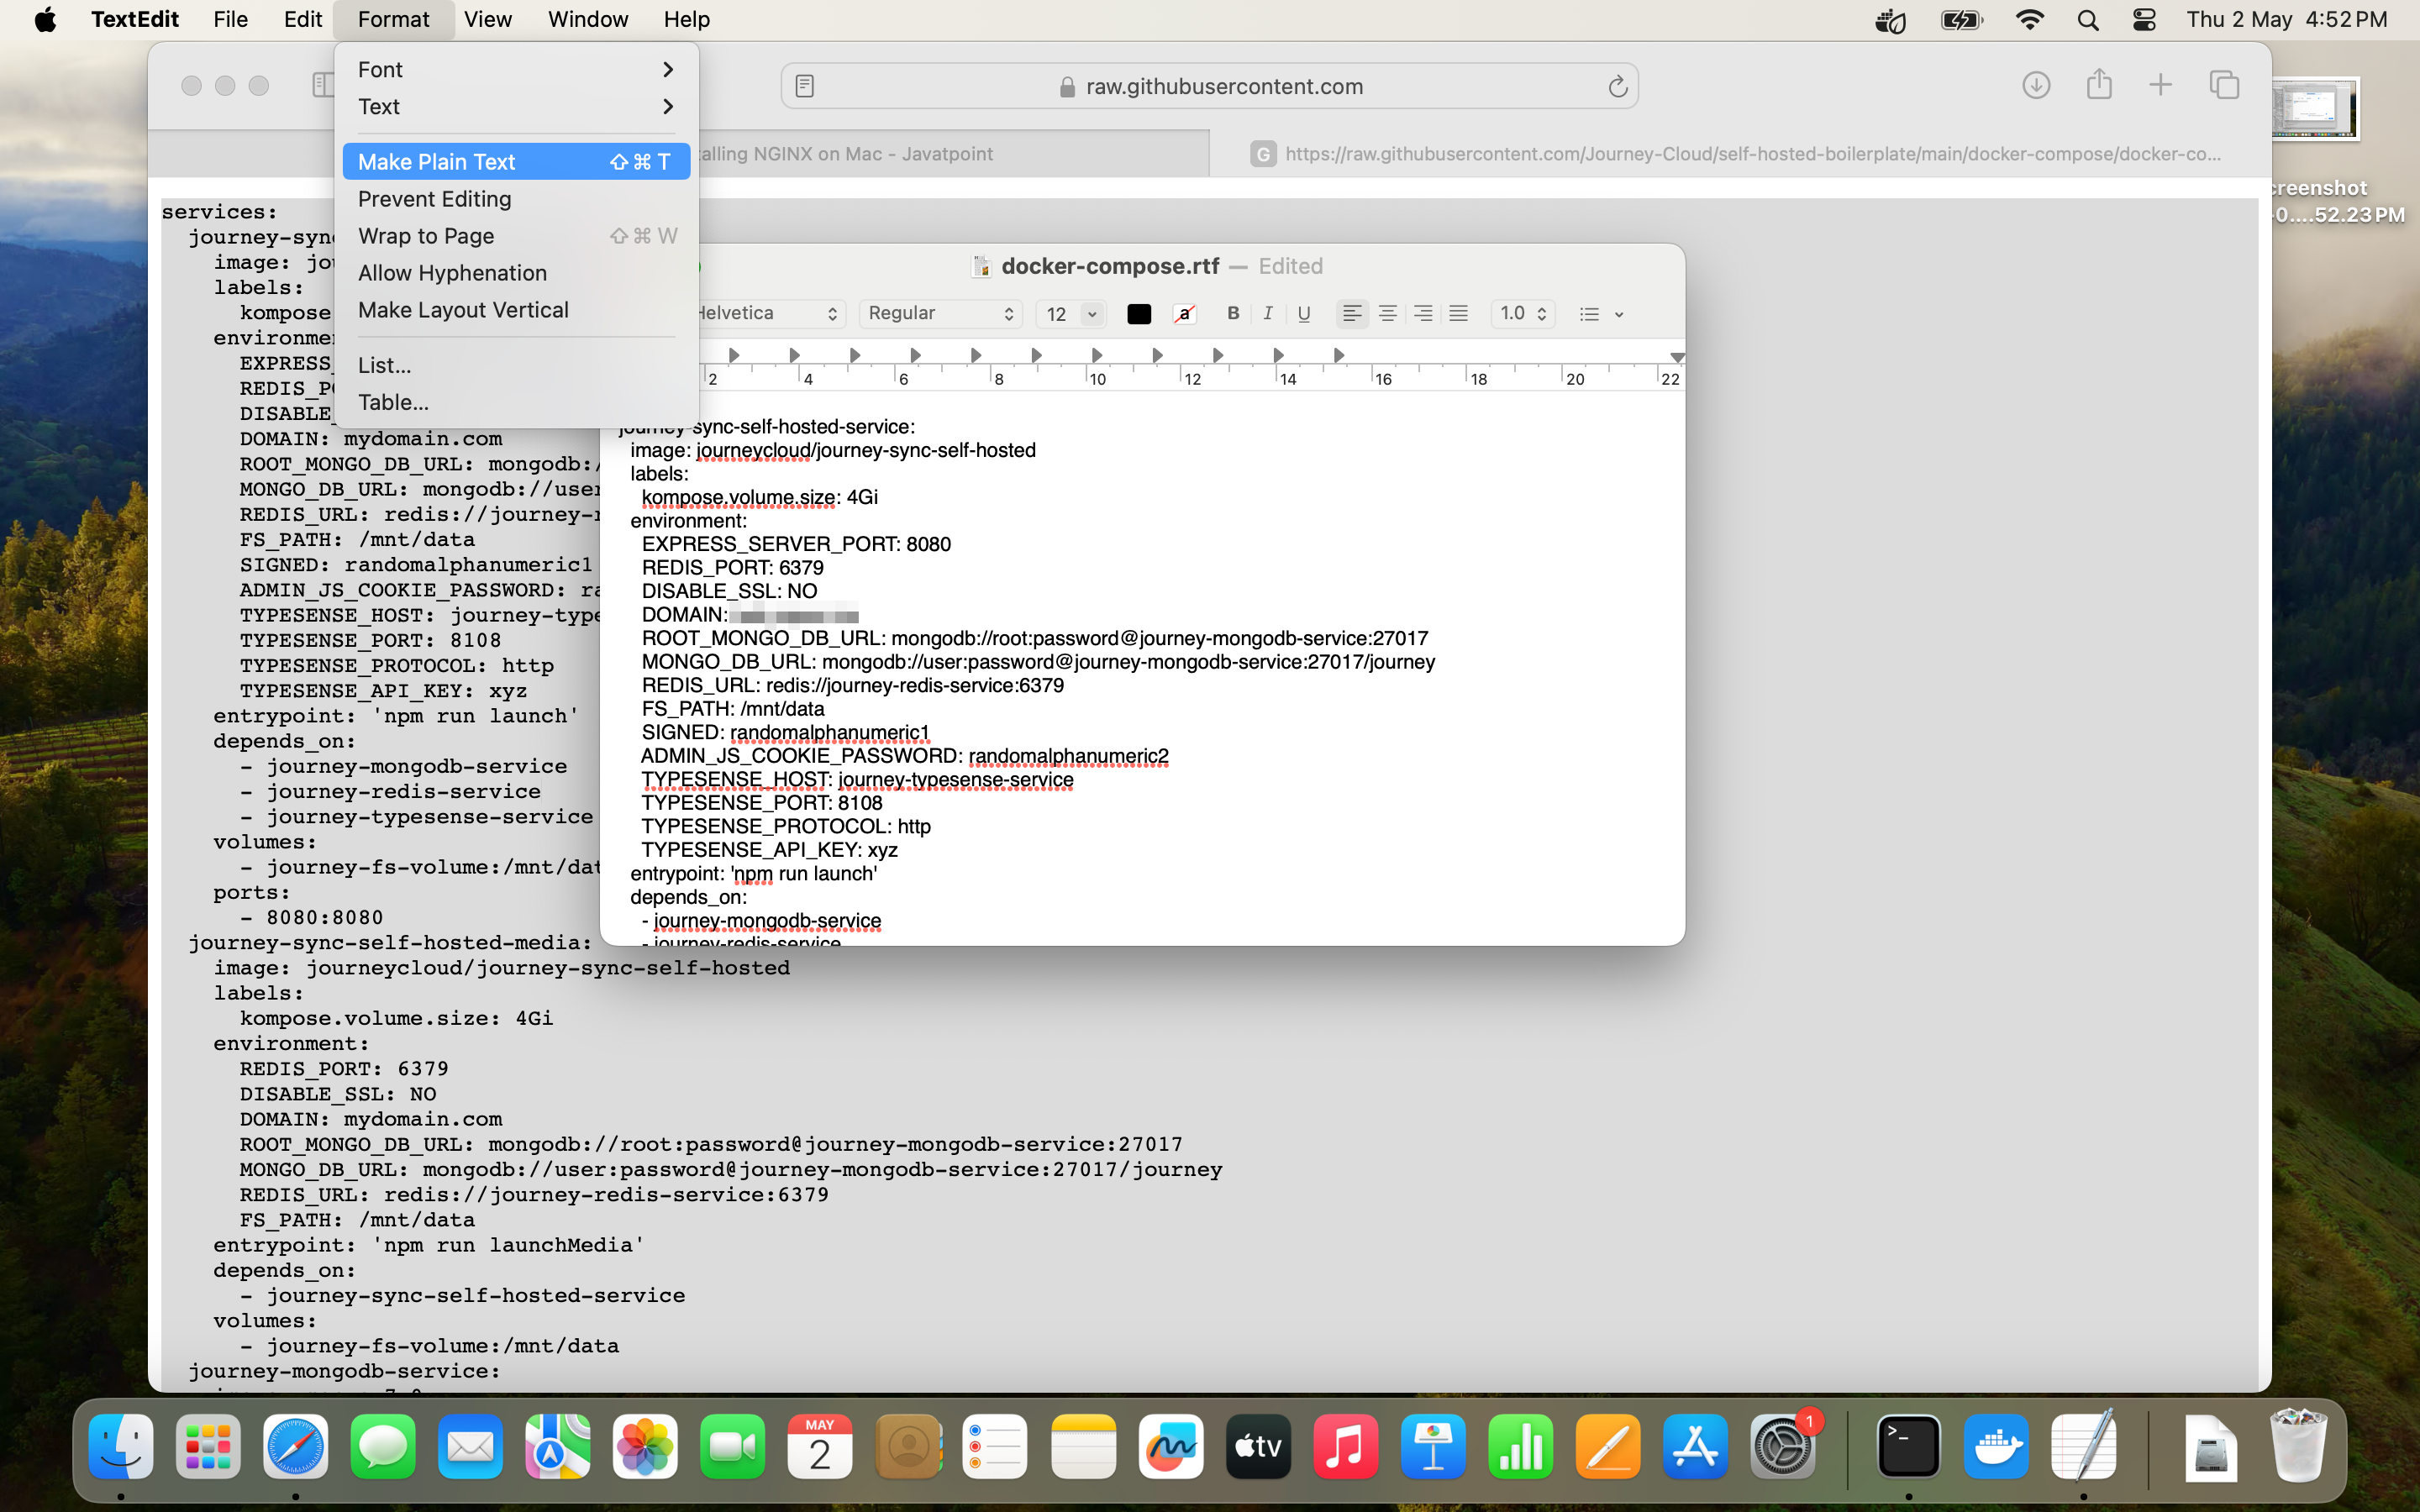
docker-compose.ymlfile. Copy its contents and paste them into a text editor like TextEdit. Within the copied content, locate and modify the following fields:- DOMAIN: Replace both
journey-sync-self-hosted-service&journey-sync-self-hosted-mediaservices of this field with your domain name. Example:<random>.ngrok-free.app - SIGNED: Change this field to a unique value.
- ADMIN_JS_COOKIE_PASSWORD: Modify this field with a unique password.
Ensure that “Make Plain Text” is selected under “Format” menu in TextEdit app.
- DOMAIN: Replace both
-
Save text file as
docker-compose.ymlin a designated directory. In this example, we save in~/Documents/journey.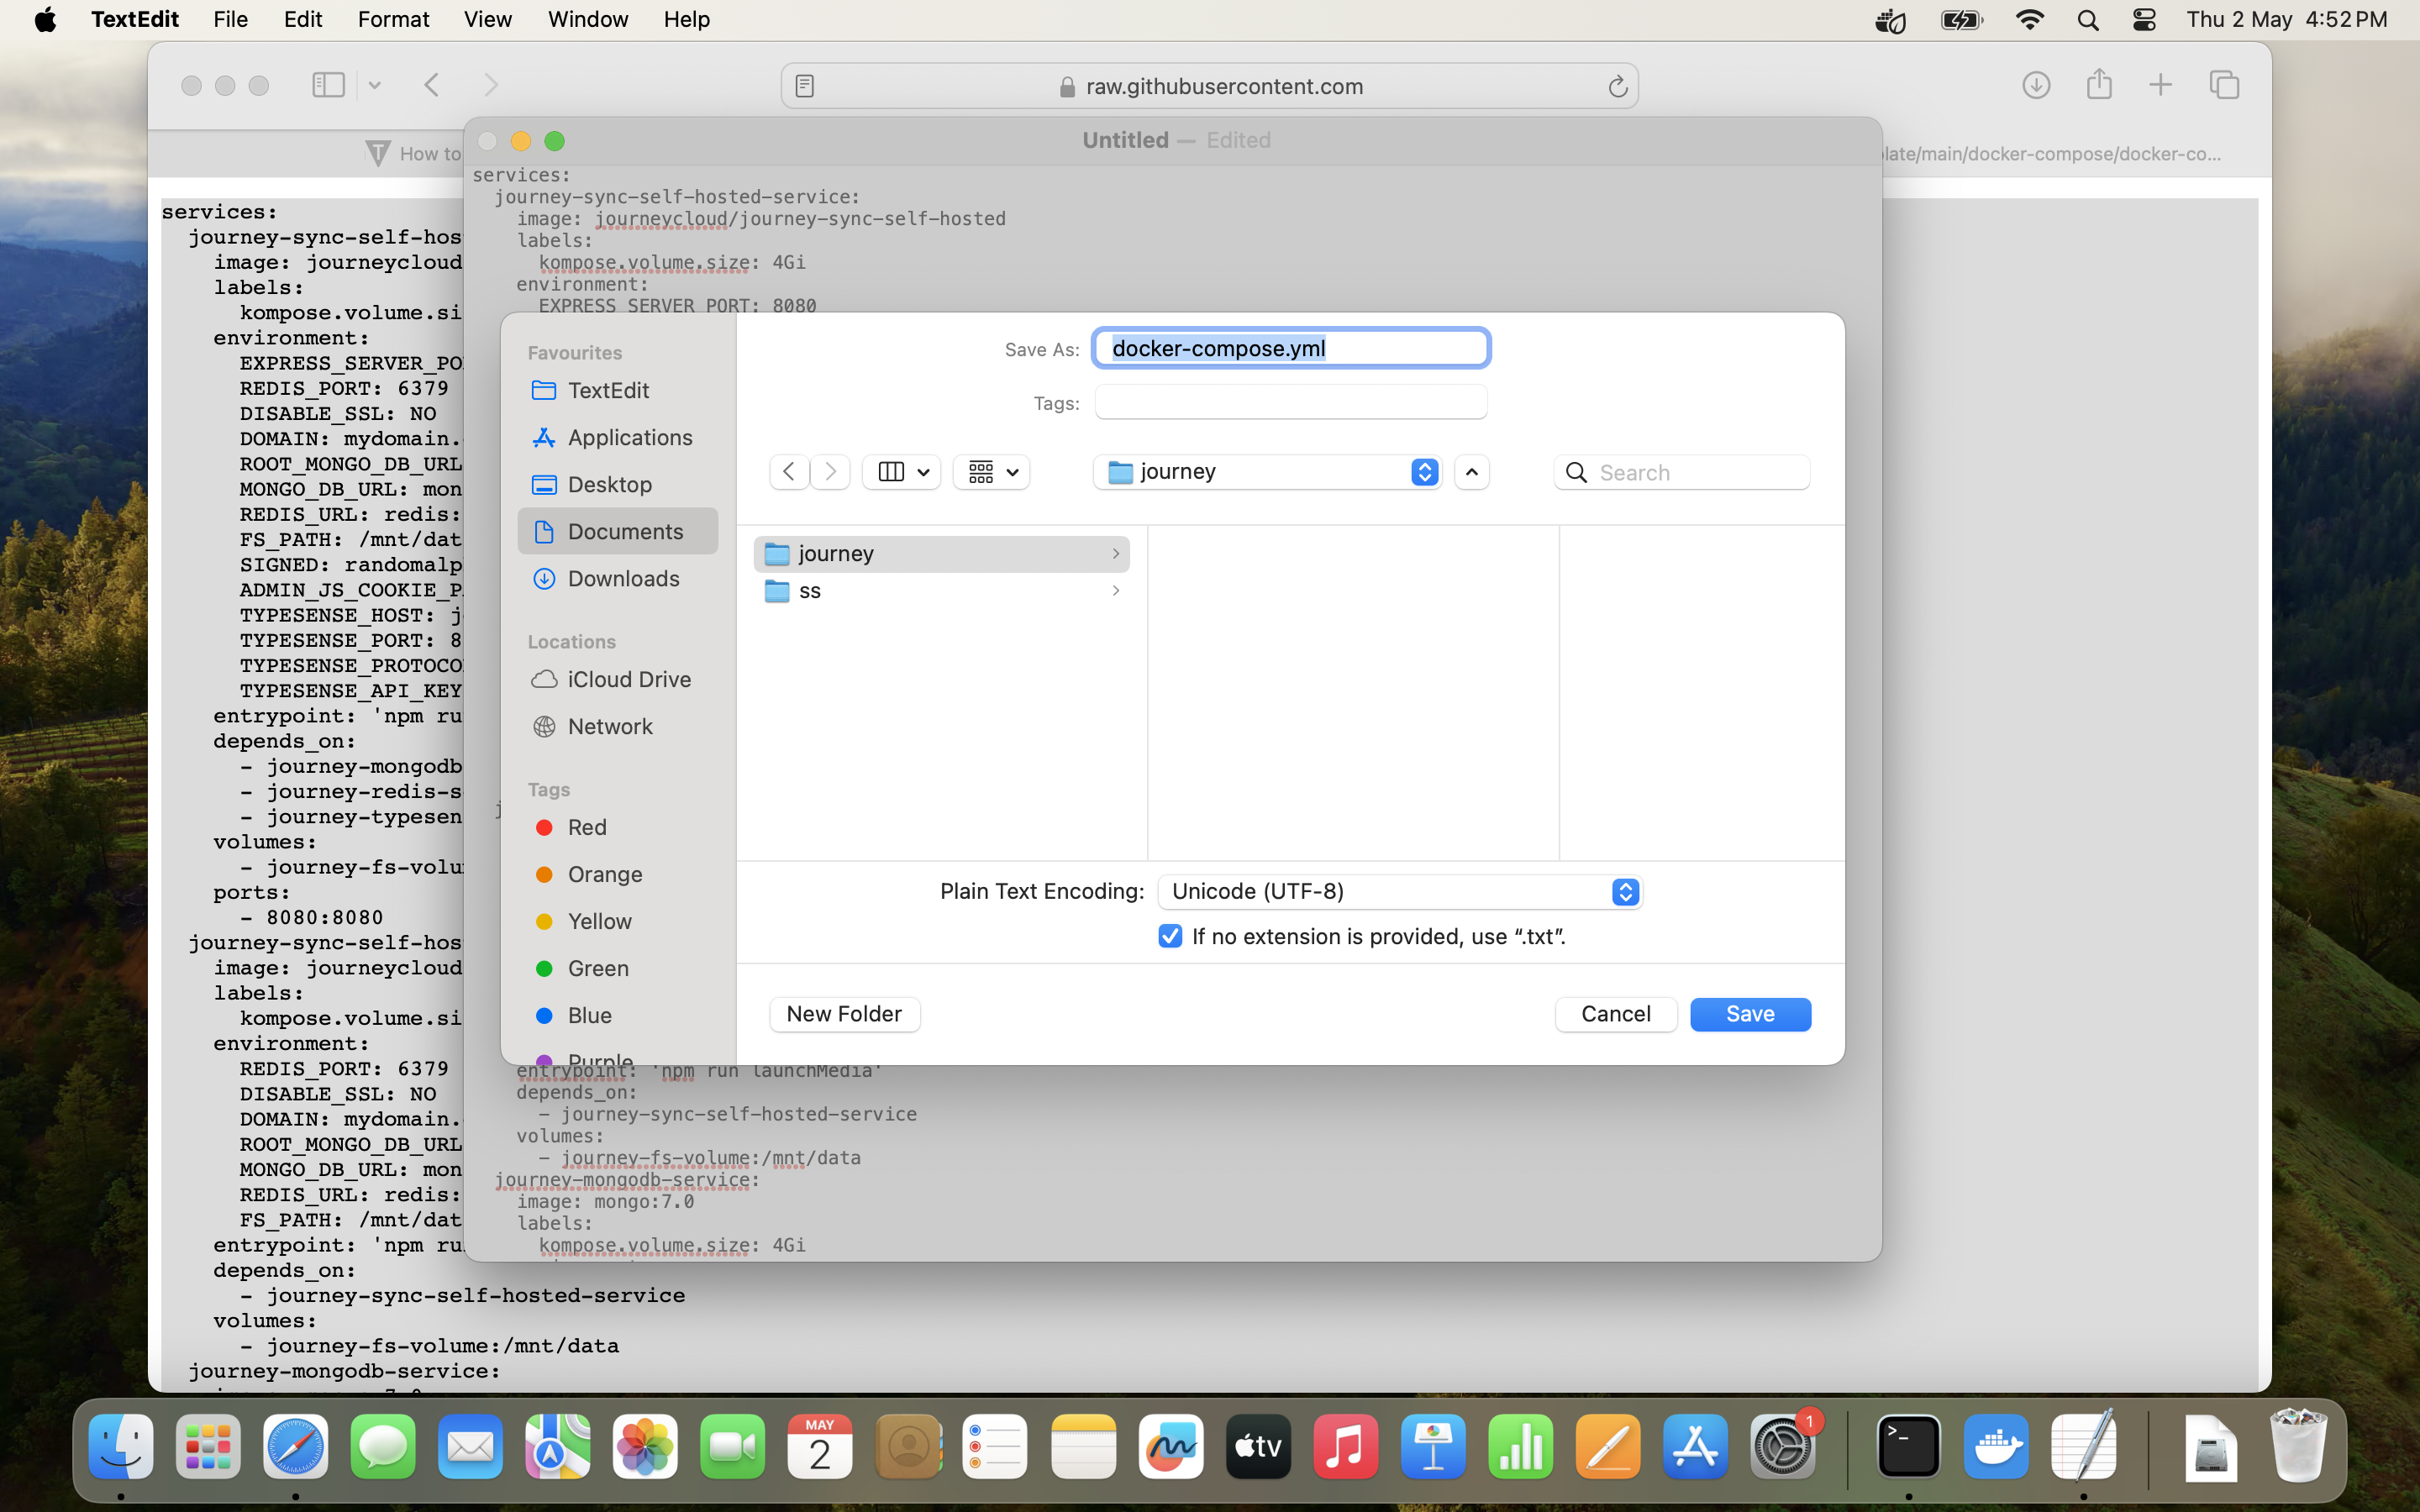
- Go to the designated directory and list the files in the fol der.
cd ~/Documents/journey ls - Ensure that
docker-compose.ymlis within the folder.johnappleseed@MacBook journey % ls docker-compose.yml - Pull the images.
docker compose pull - Run the services.
docker compose up -d -
Go to
locahost:8080in your browser. You should see that the Journey self-hosted server is installed.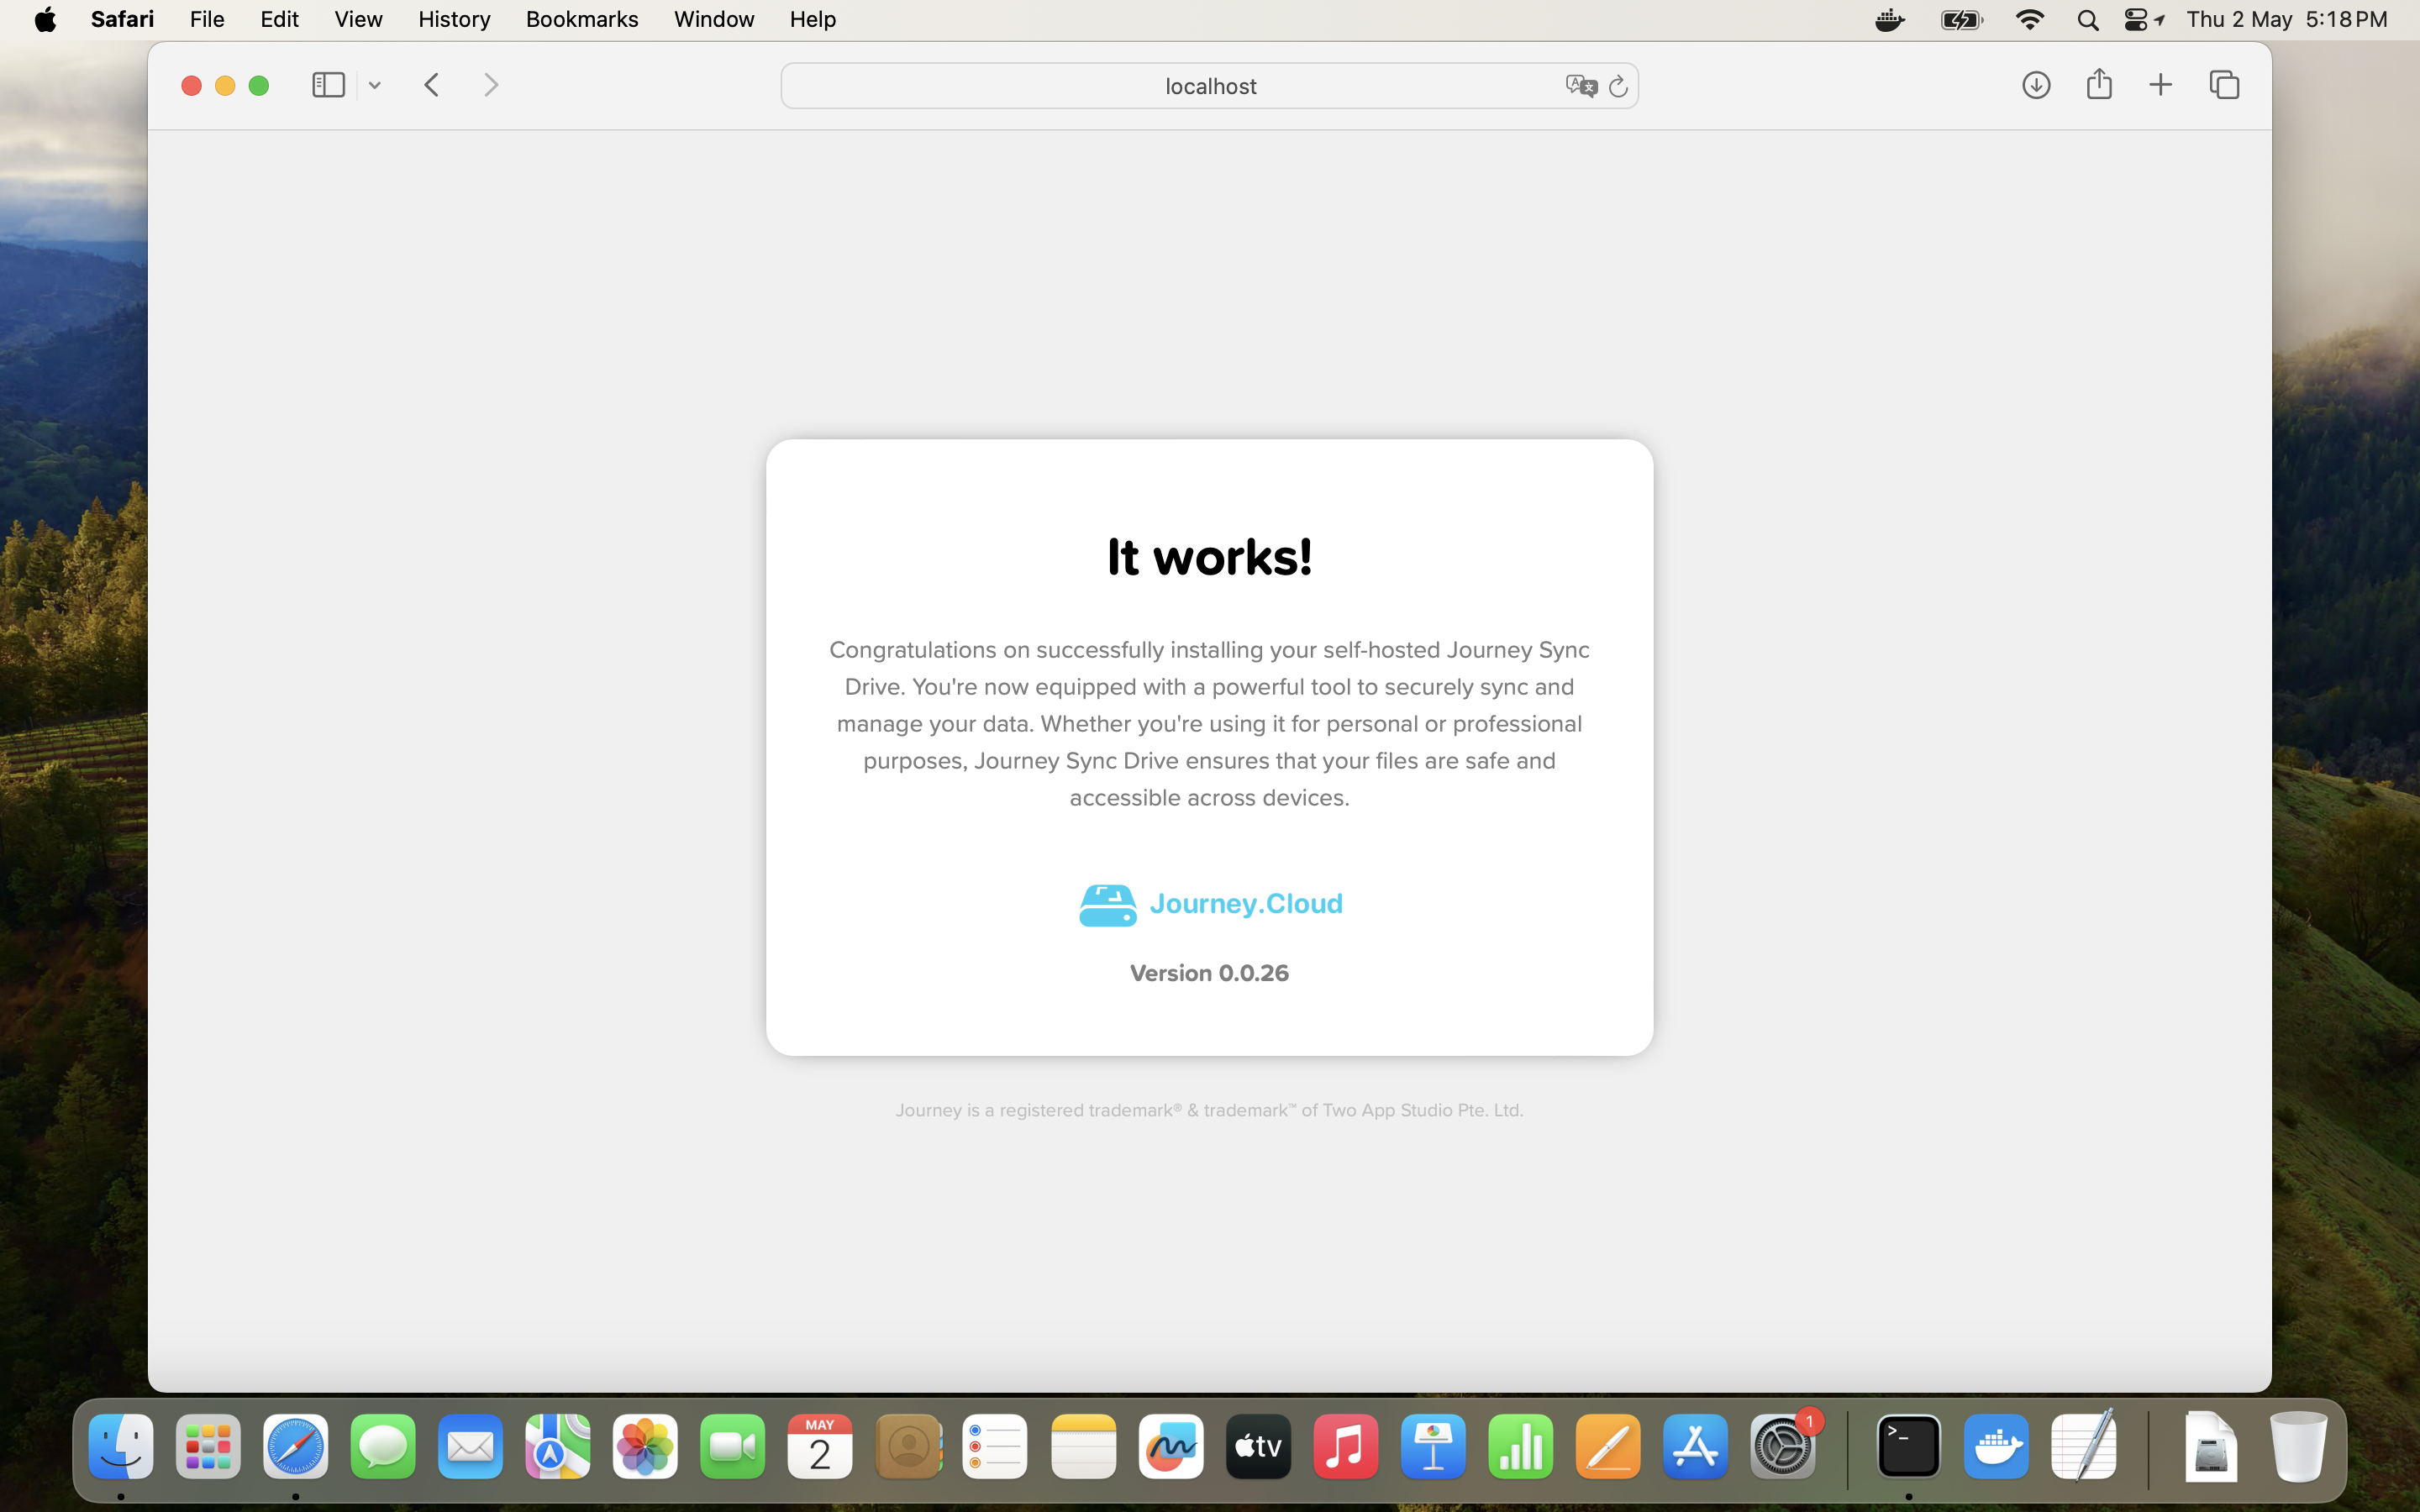
-
Go to
<random>.ngrok-free.appin your browser. You should see that the Journey self-hosted server is installed.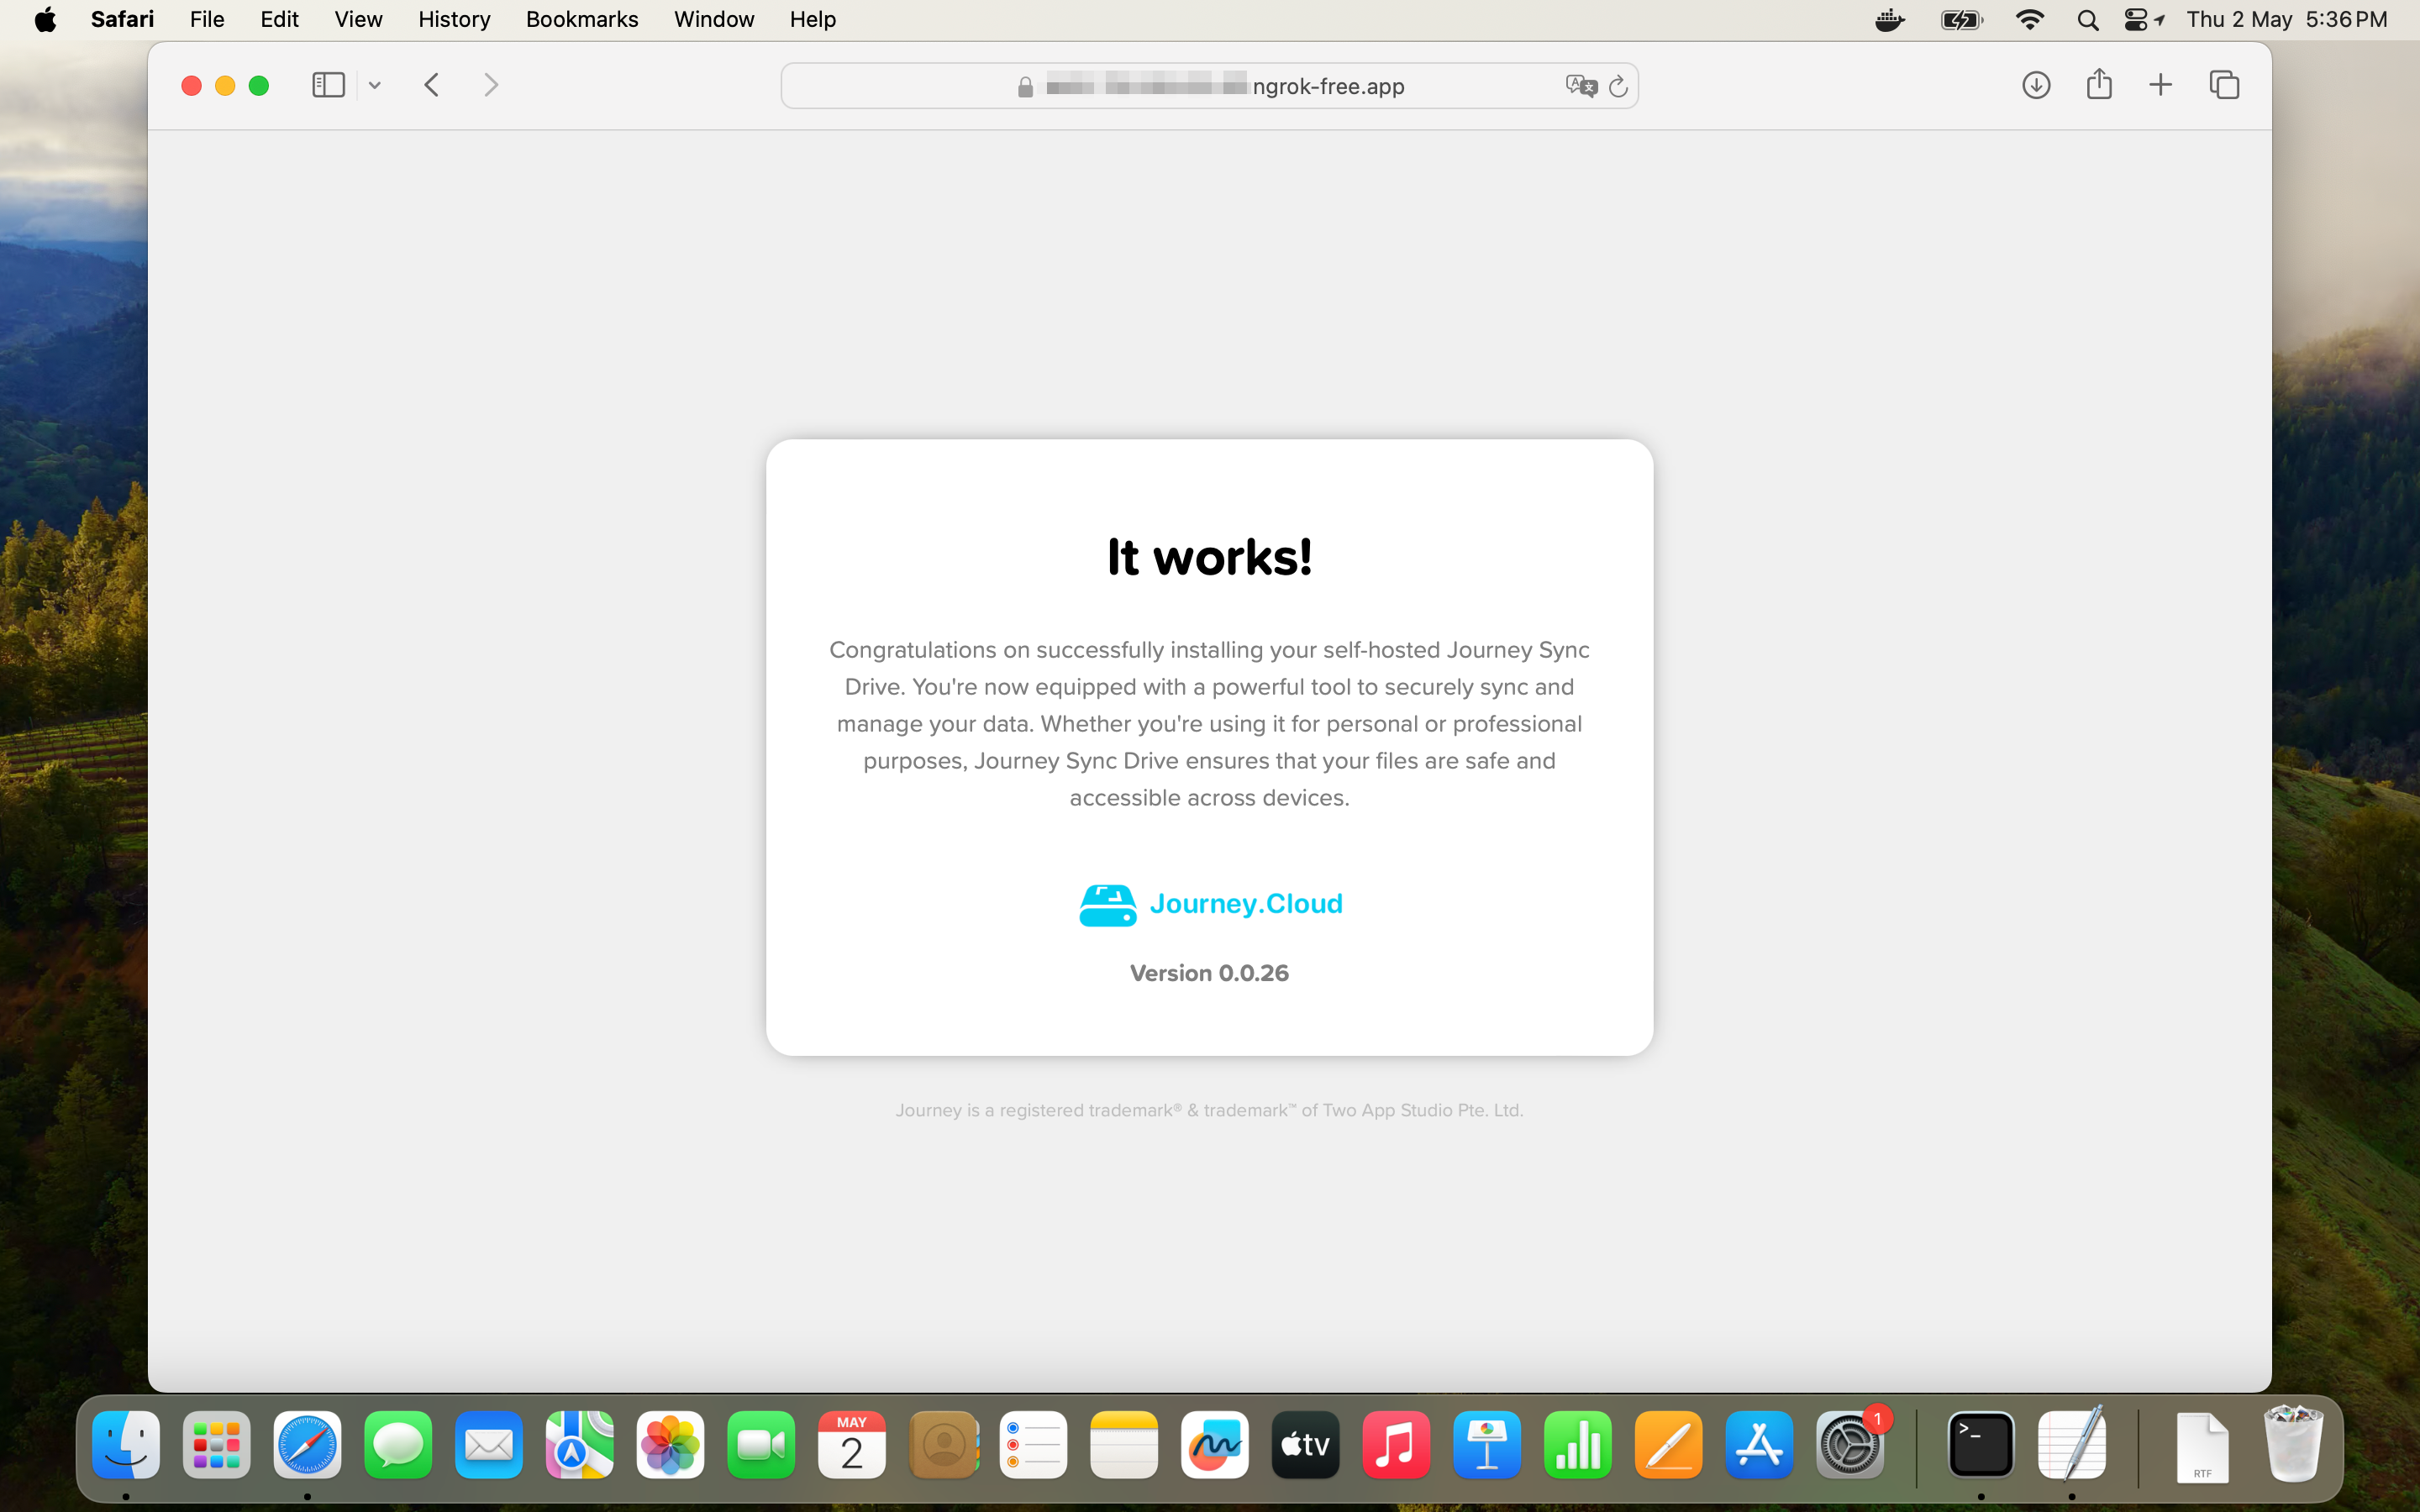
-
Log in to the admin panel by going to
https://<random>.ngrok-free.app/admin.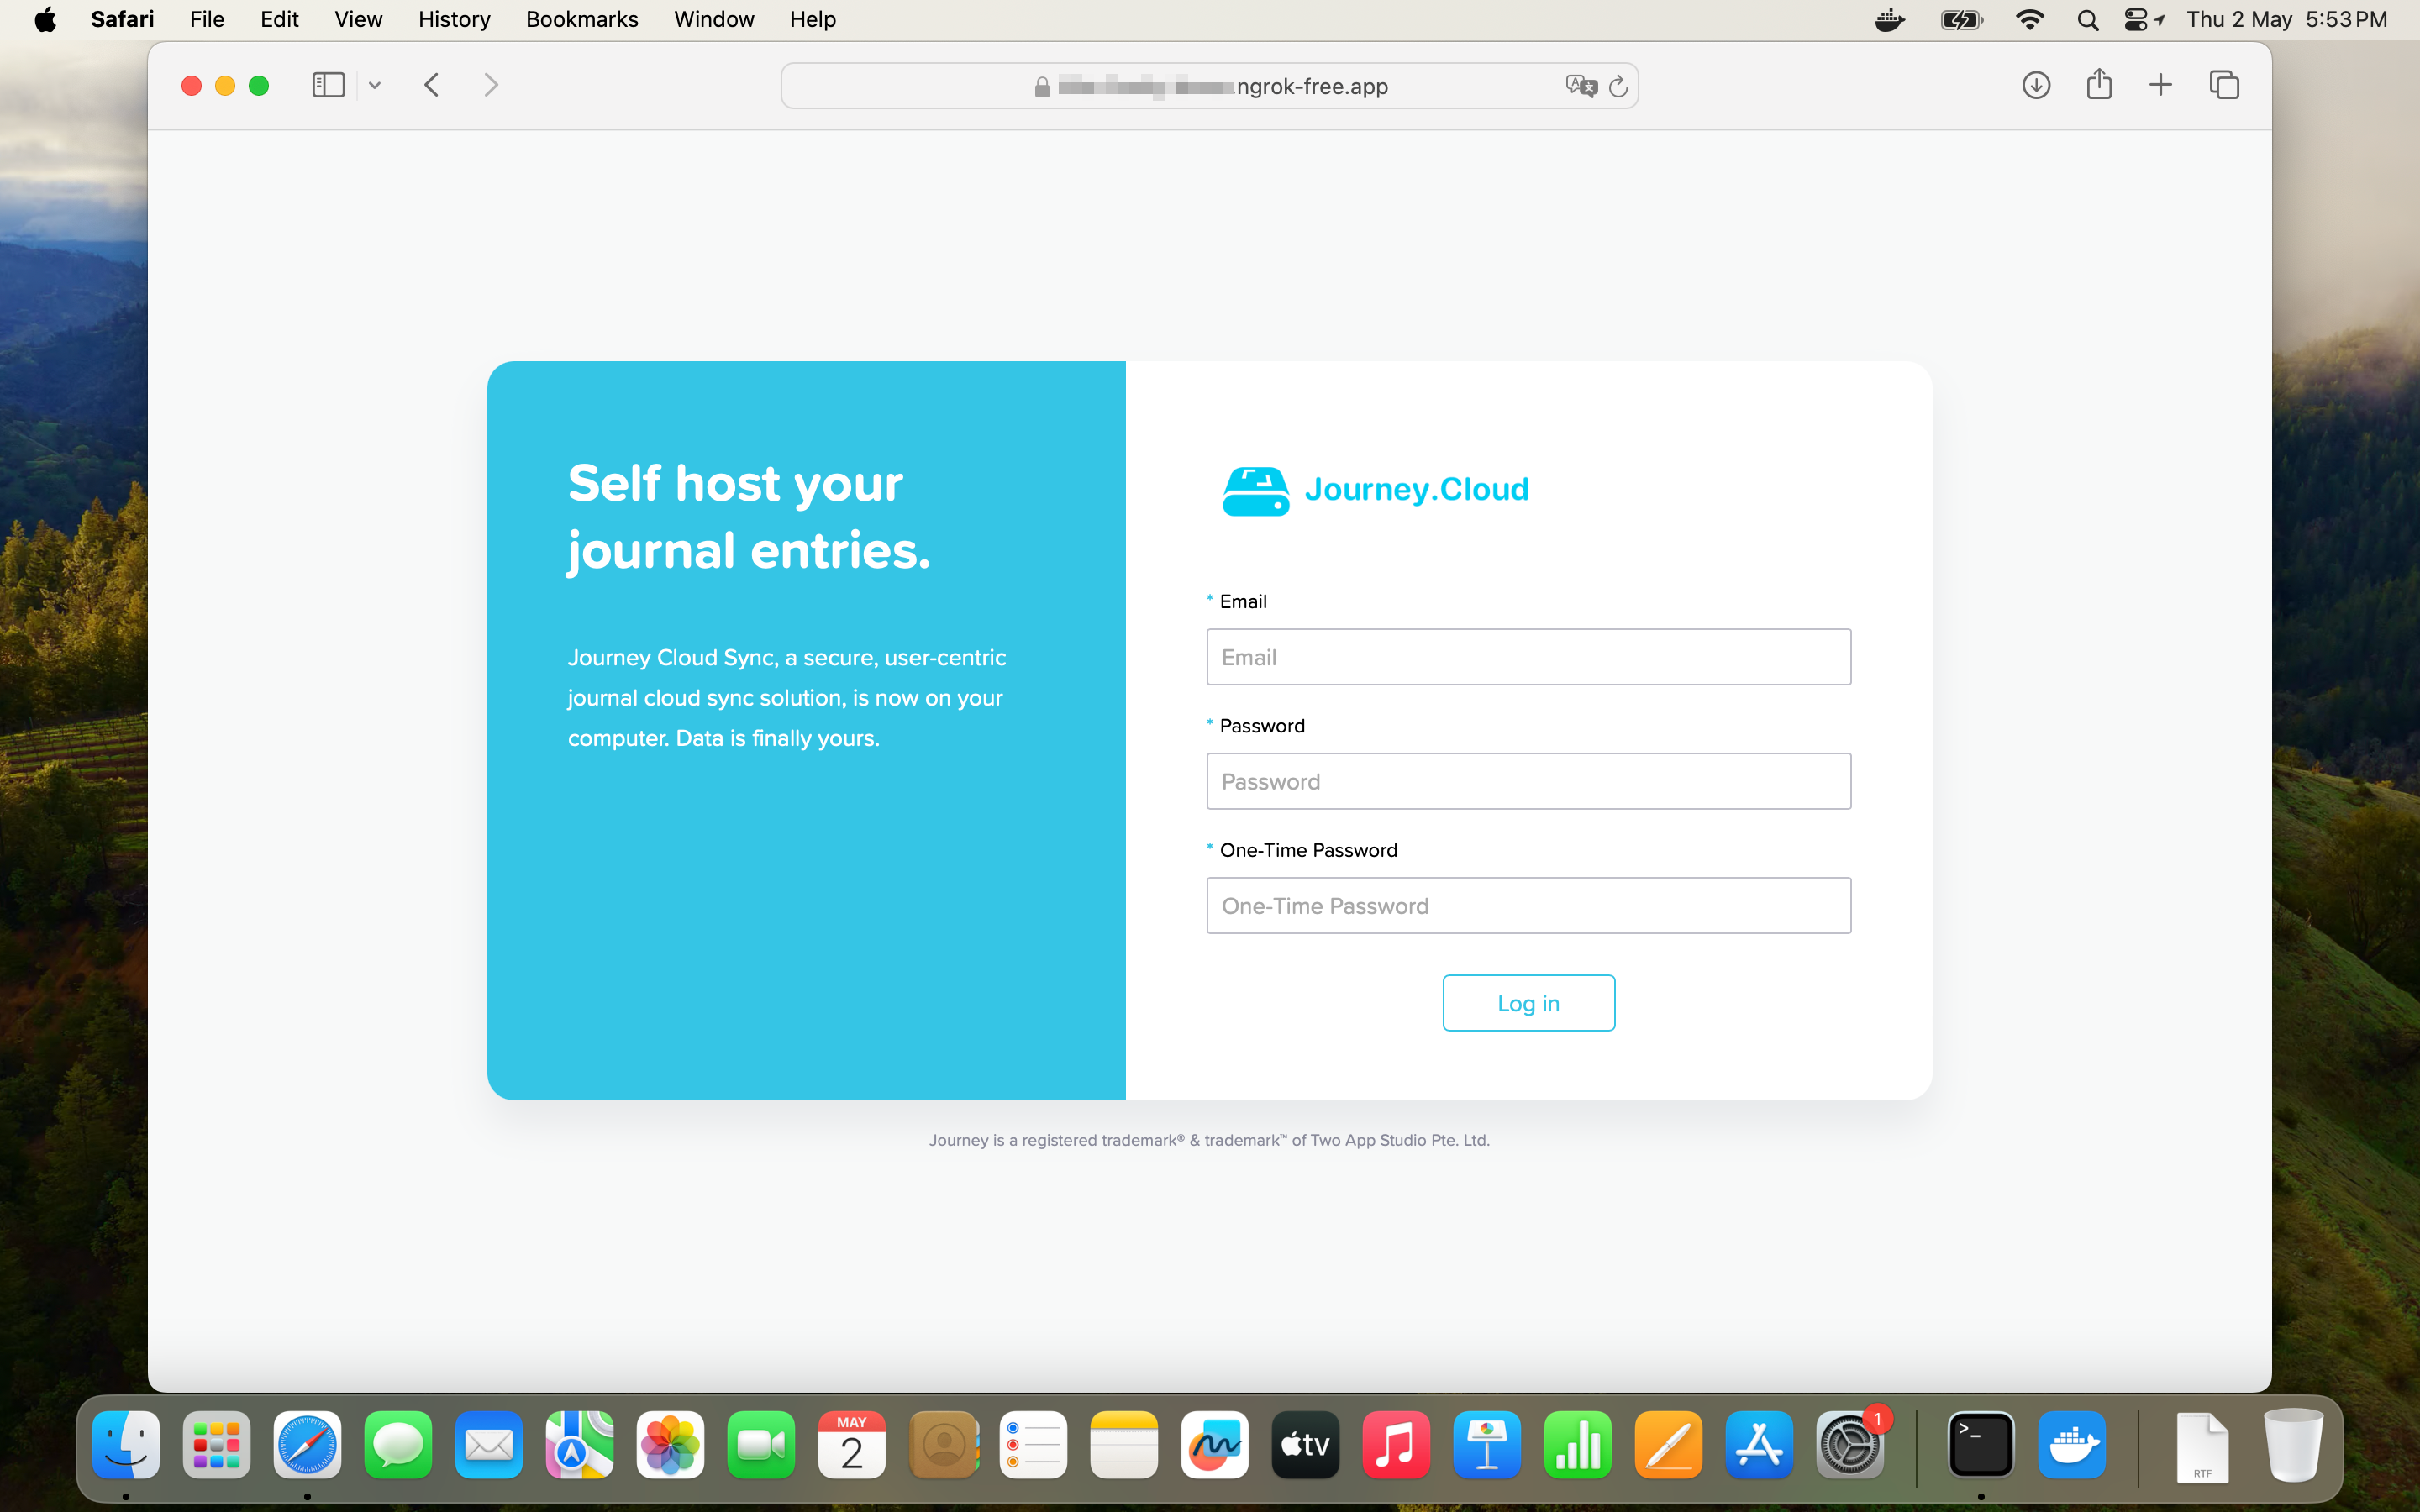
-
Now, you need to locate your credentials. On the menu, click “Go to the dashboard” to open Docker dashboard.
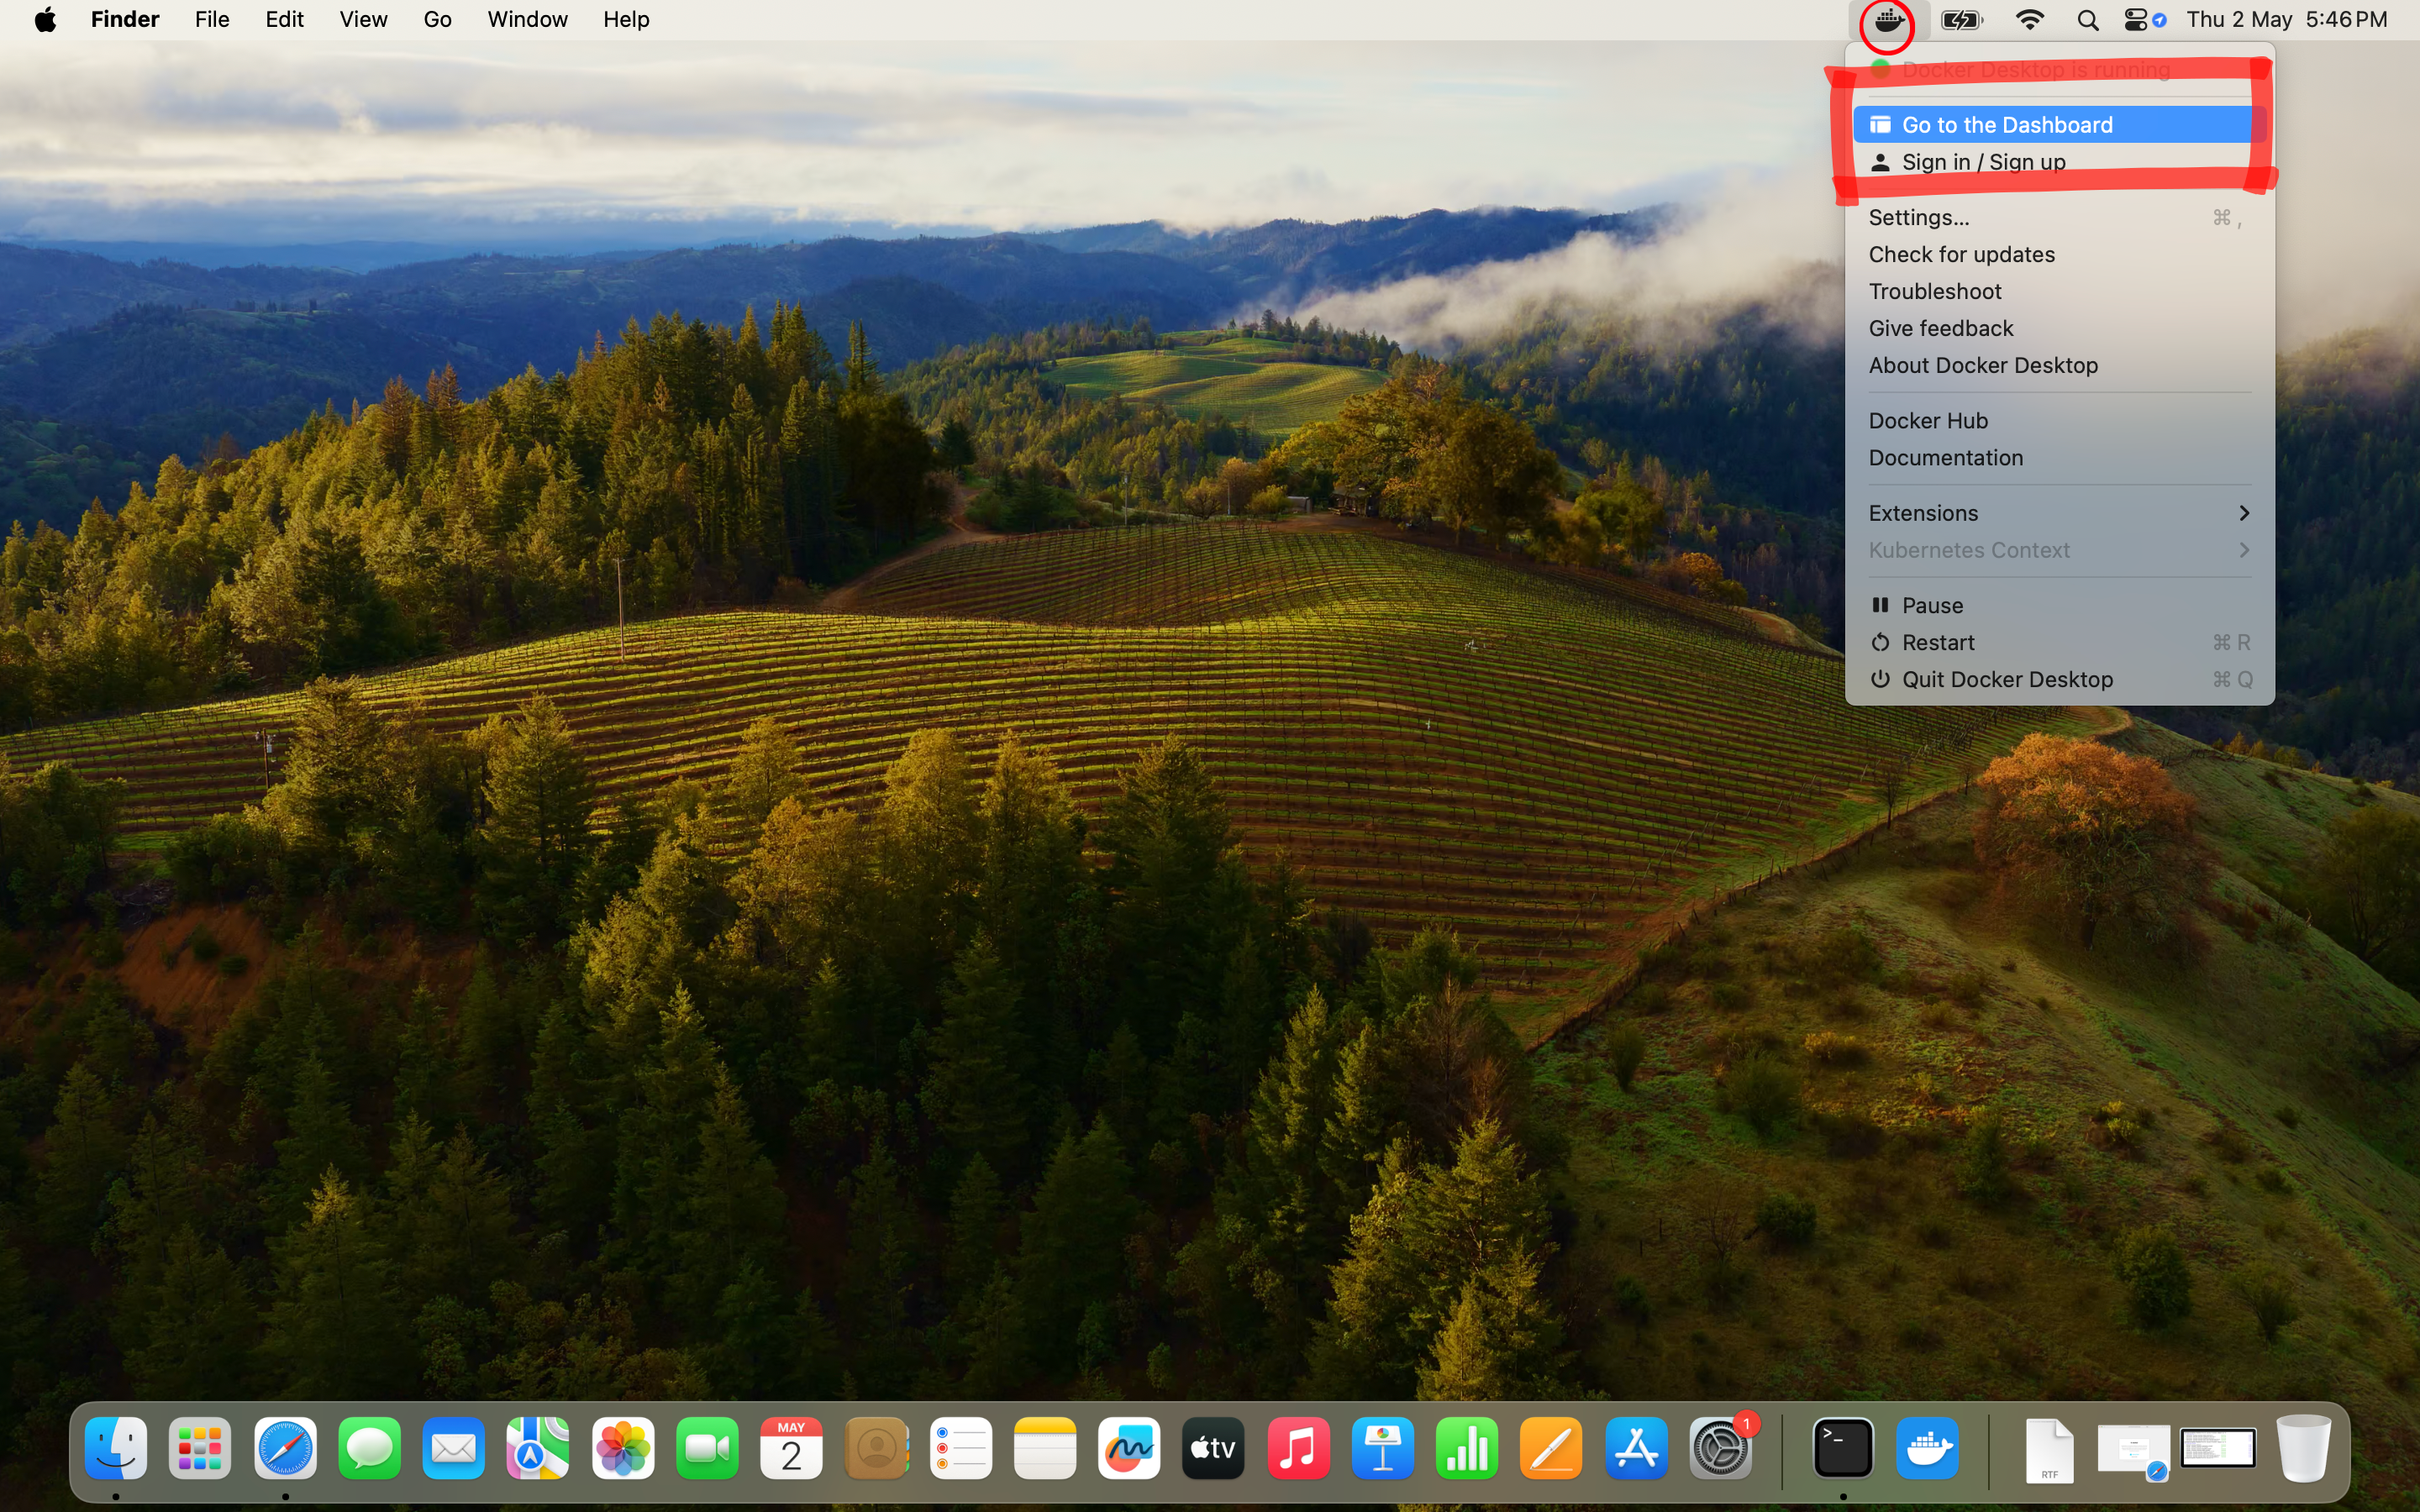
-
In “Containers” tab, expand “journey” project. Click on the service with name that starts with
journey-sync-self-hosted-service-running on port8080.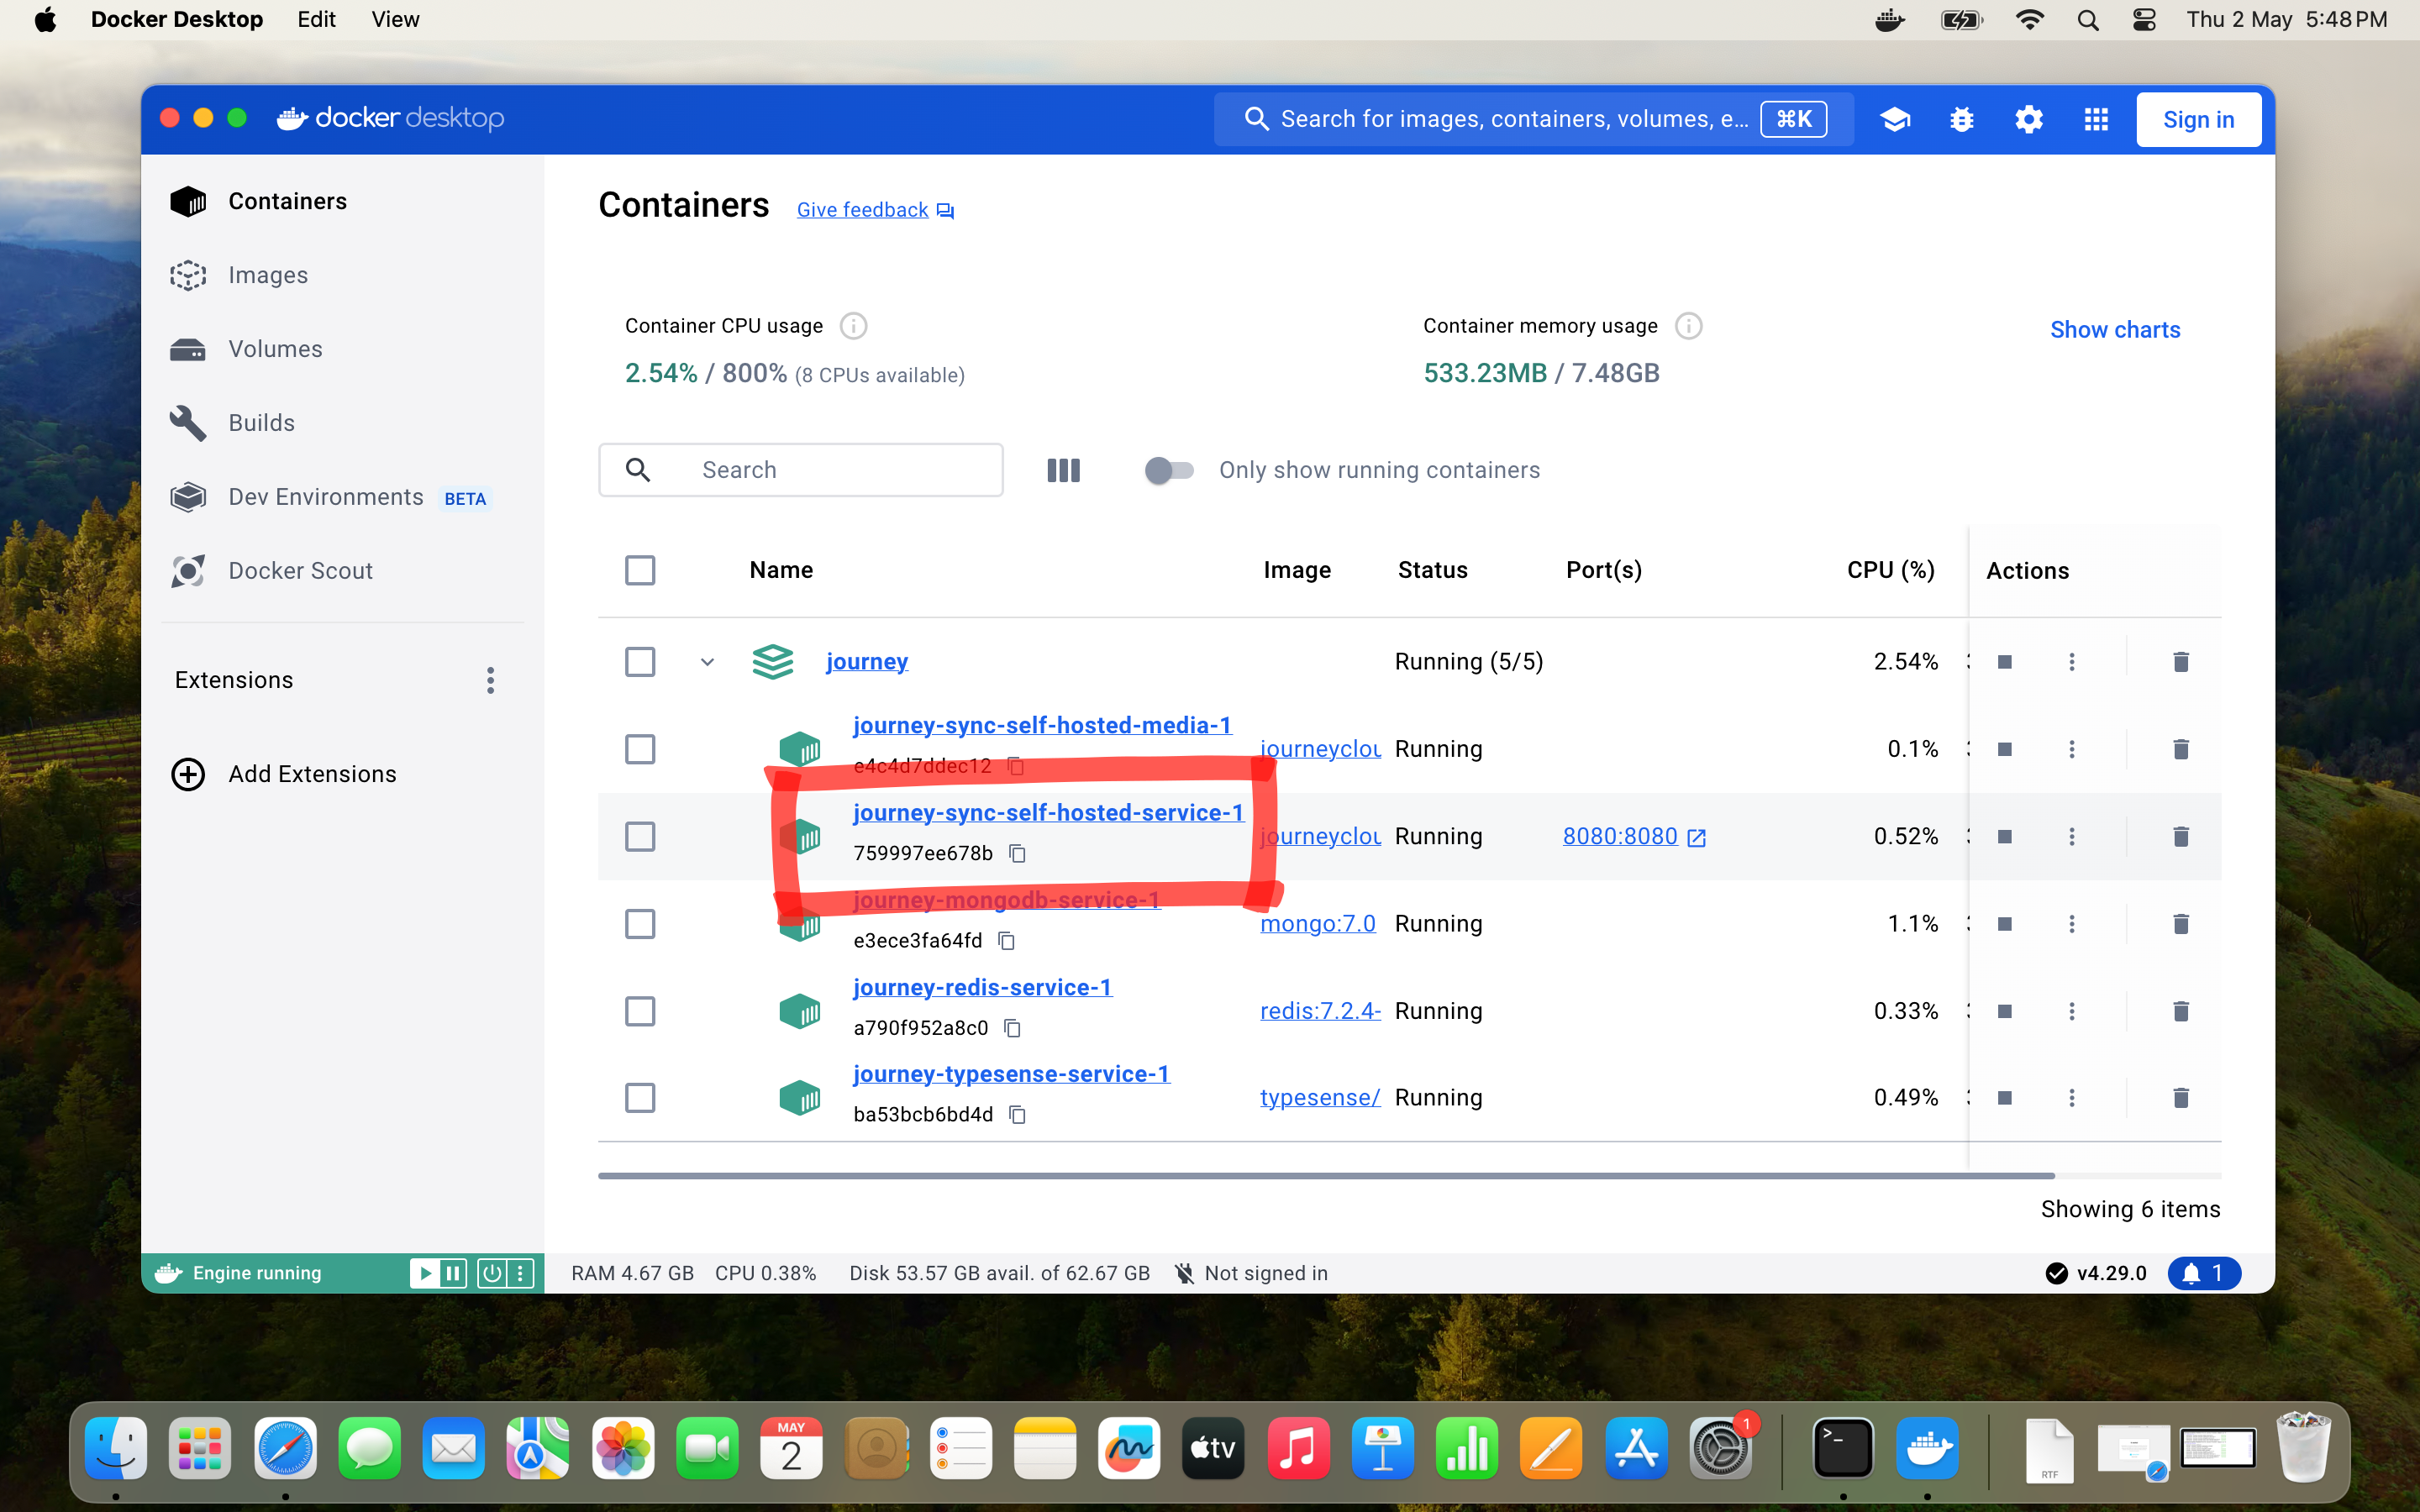
-
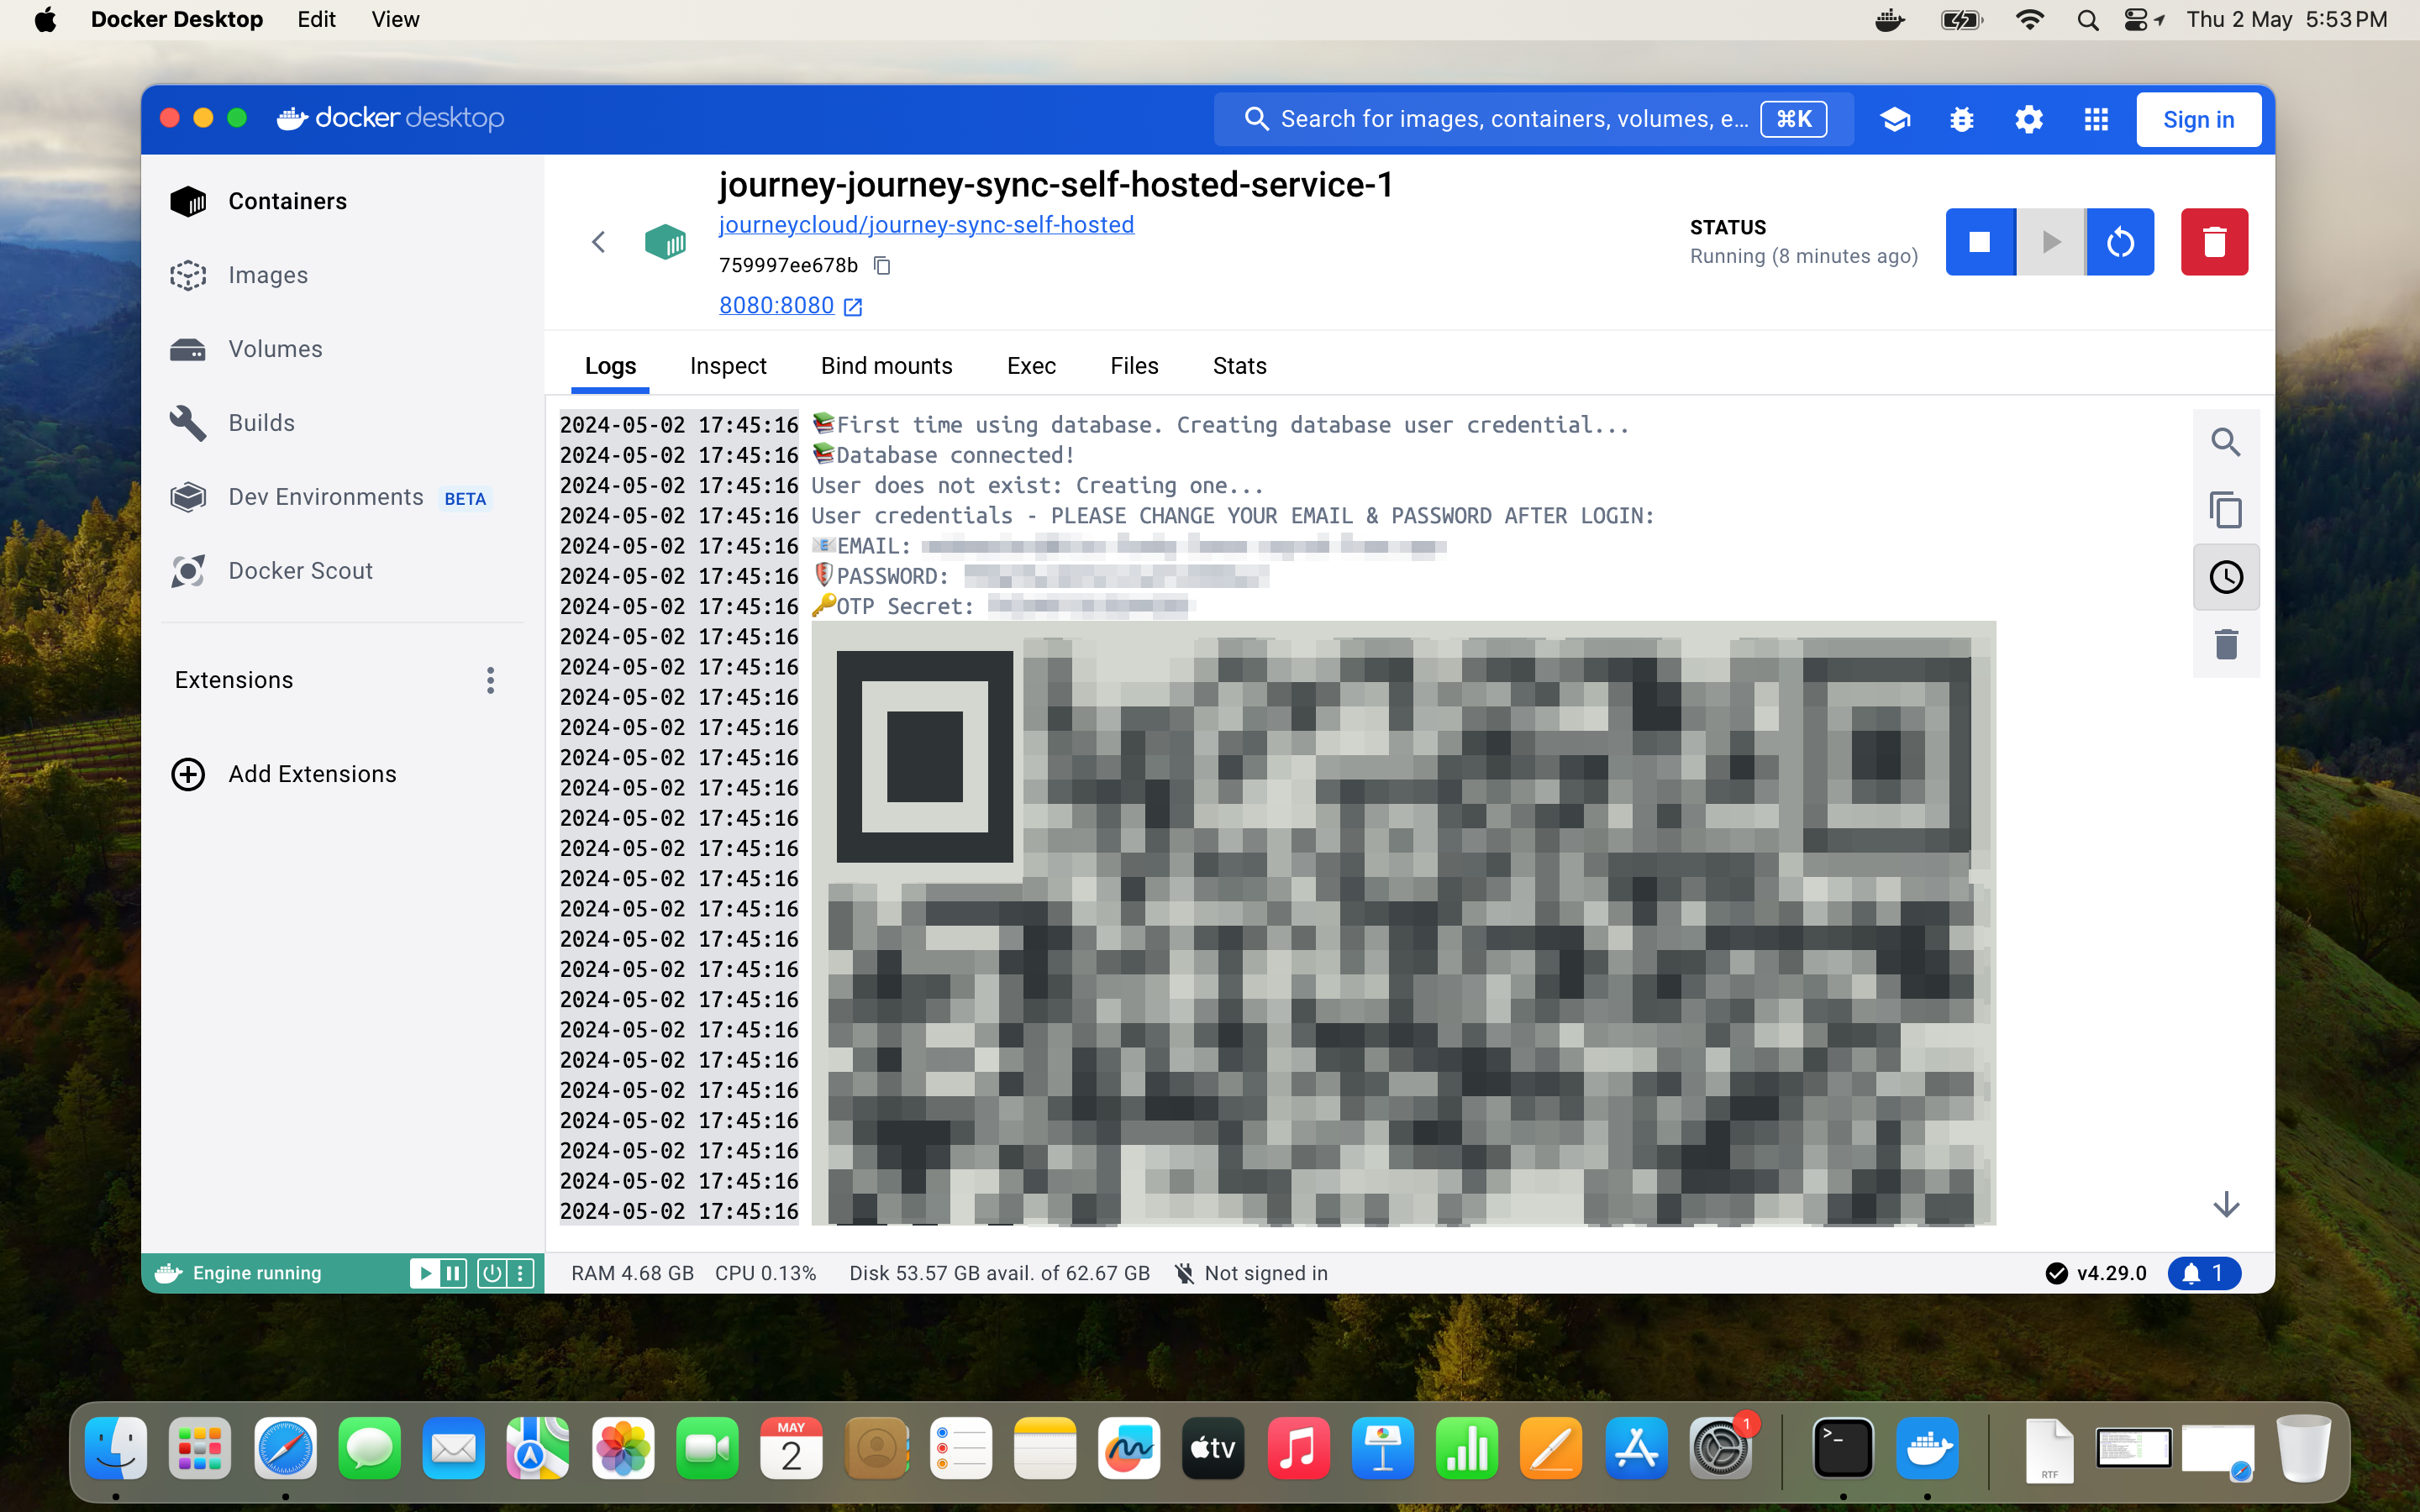
Scroll the logs to retrive the user name and password. Copy the user name and password into the admin login page. For OTP, use authenticator app such as Authy. Enter the secret code or scan the QR code.
-
Done! You are in the admin dashboard.
-
Change the admin password. You may also add new user.
- Follow the instructions here to add a new sync drive.
Update Journey Docker images
- Journey self-hosted is updated from time to time. To update, go to the folder where
docker-compose.ymlis located.cd ~/Documents/journey - Pull the images.
docker compose pull - Load the new images.
docker compose up -d